How to Host a Project Zomboid Server
Log in for the First Time
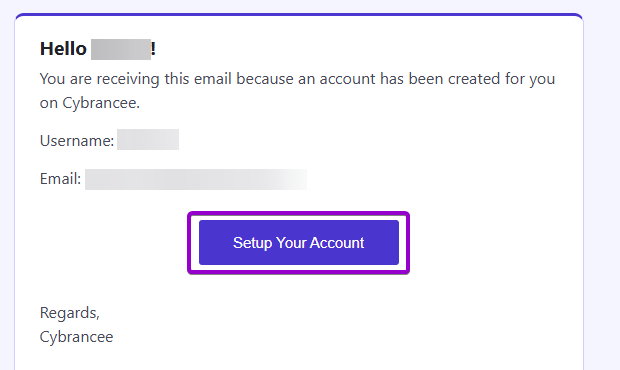
After placing your order on the Cybrancee website, you will receive an email confirming your order as well as an email inviting you to create your panel account. To get access for the first time, you will need to create your panel account. Click the 'Setup Your Account' button.
If you did not receive this email, you can go to panel.cybrancee.com and do a Password Reset from there.
Set Your Password
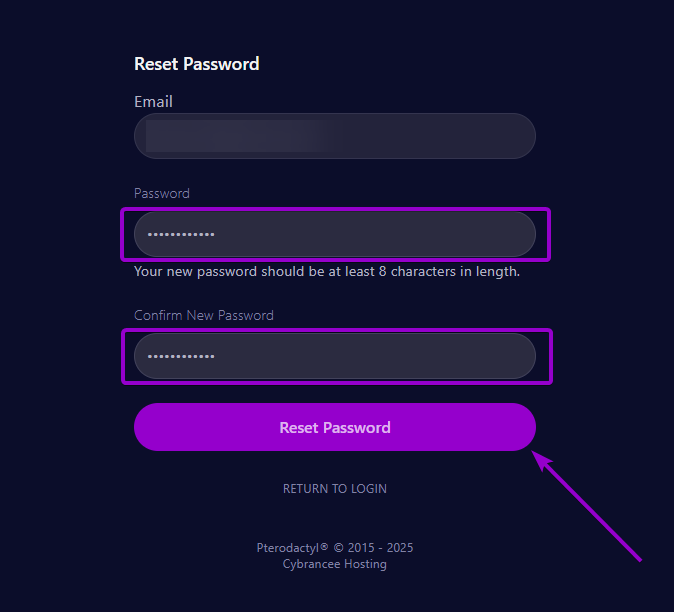
Set your password using the provided fields.
Access Your Panel Dashboard
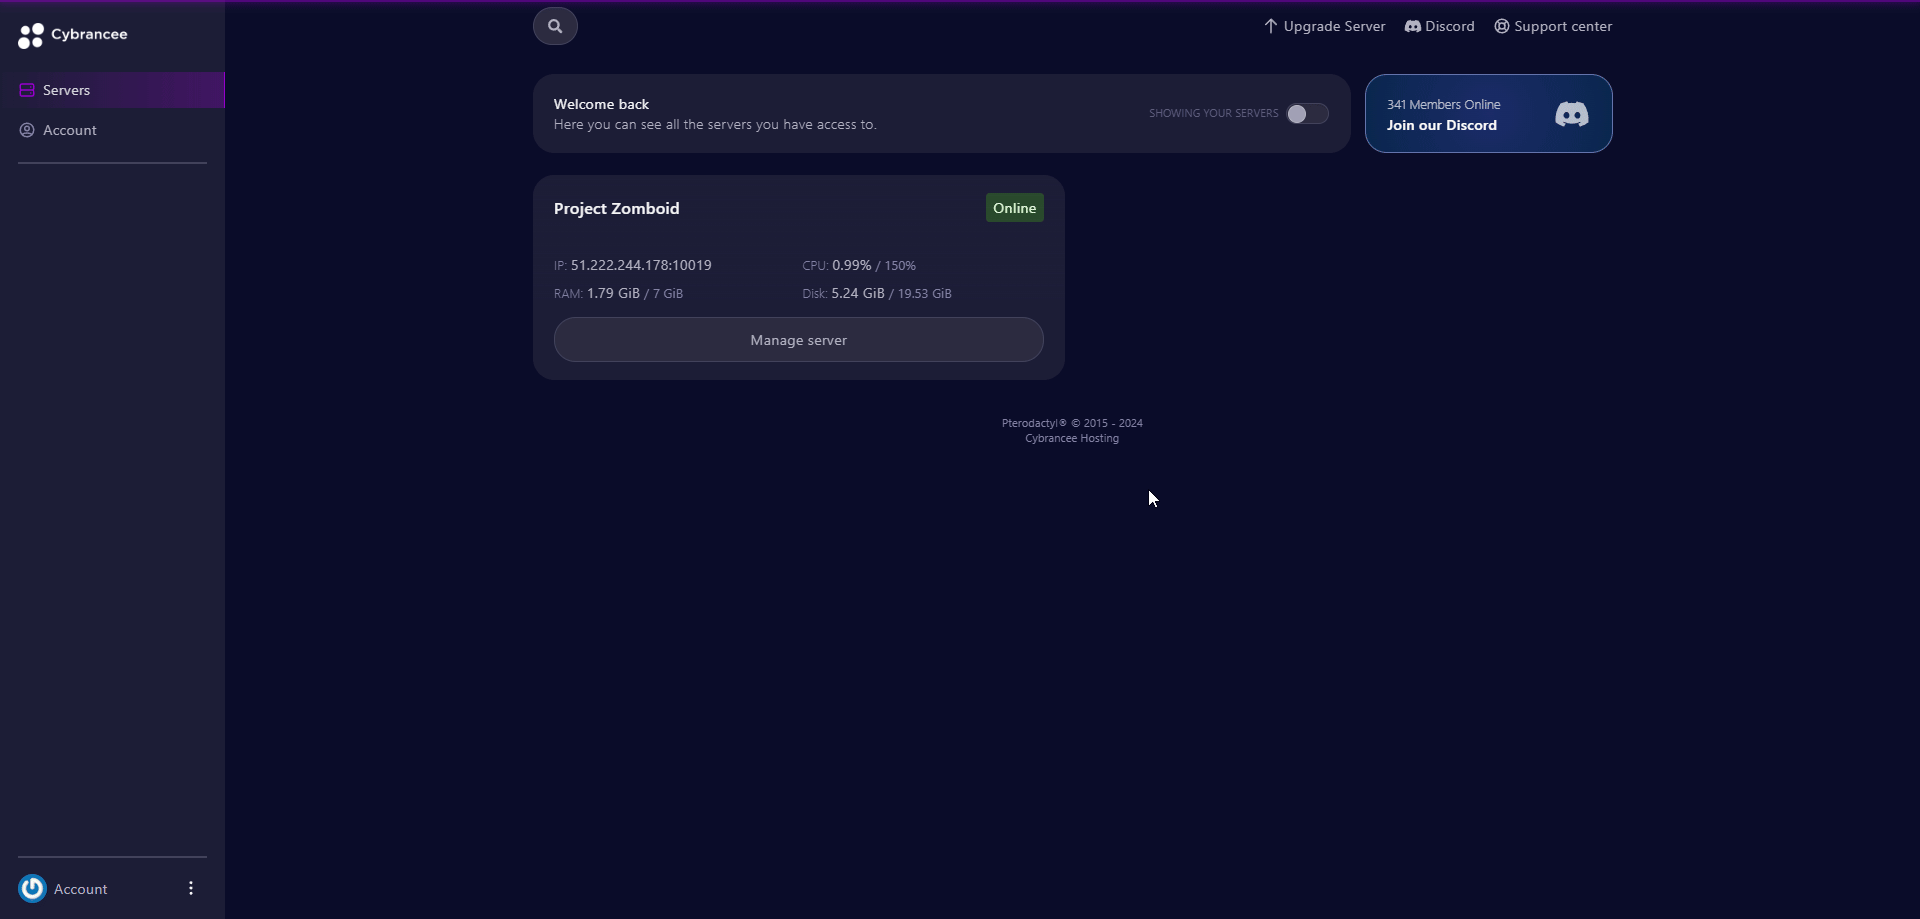
You will be taken back to the login page where you can now log in with your new set of credentials. Once logged in, you will be presented with the Cybrancee Pterodactyl Control Panel. This is where you will manage and configure your game server. From here, click on the 'Manage Server' button.
Get Your Connection Details
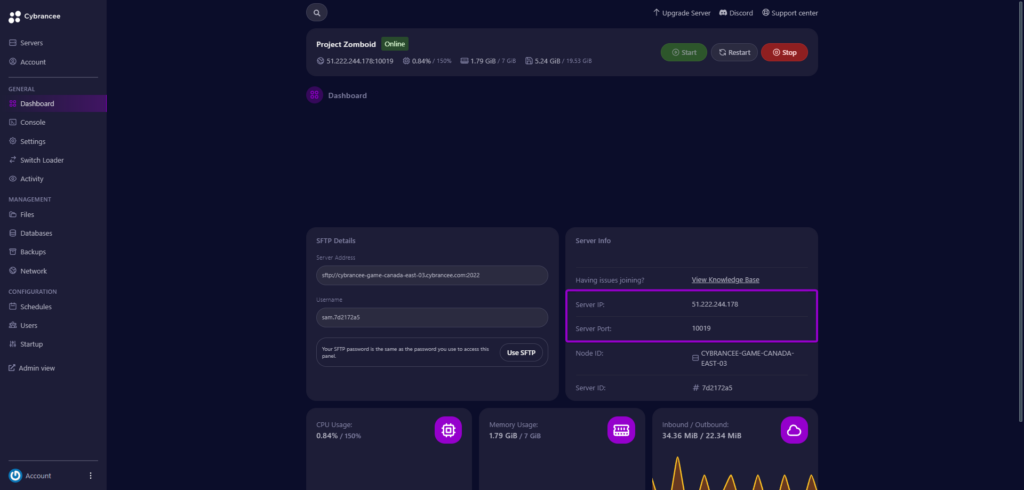
By default, Project Zomboid will have started automatically with the default settings on the latest version. To join your server, use the IP address and port provided on the dashboard.
Open the Project Zomboid Game
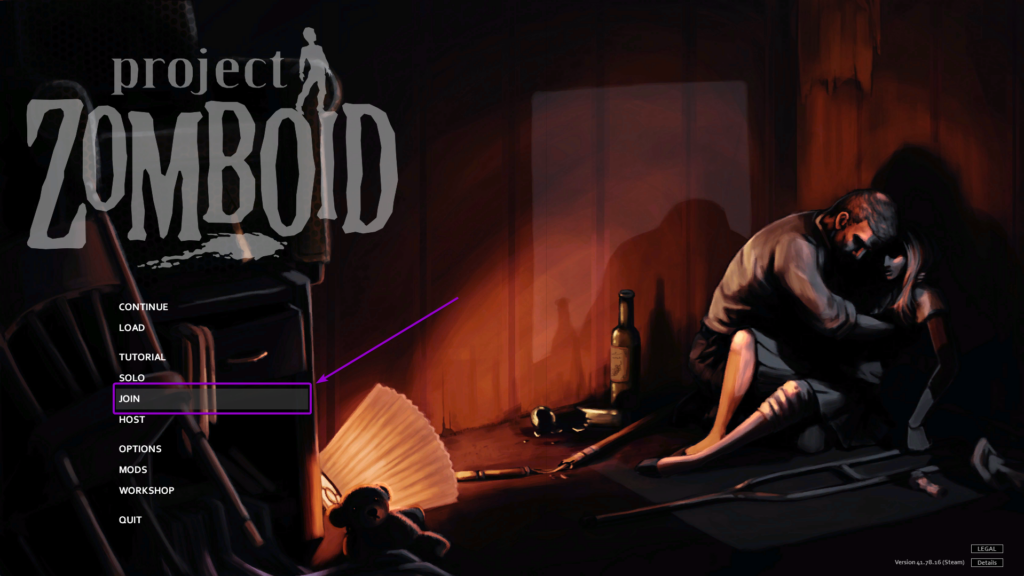
Open the Project Zomboid game, and click 'Join'.
Enter the Connection Details
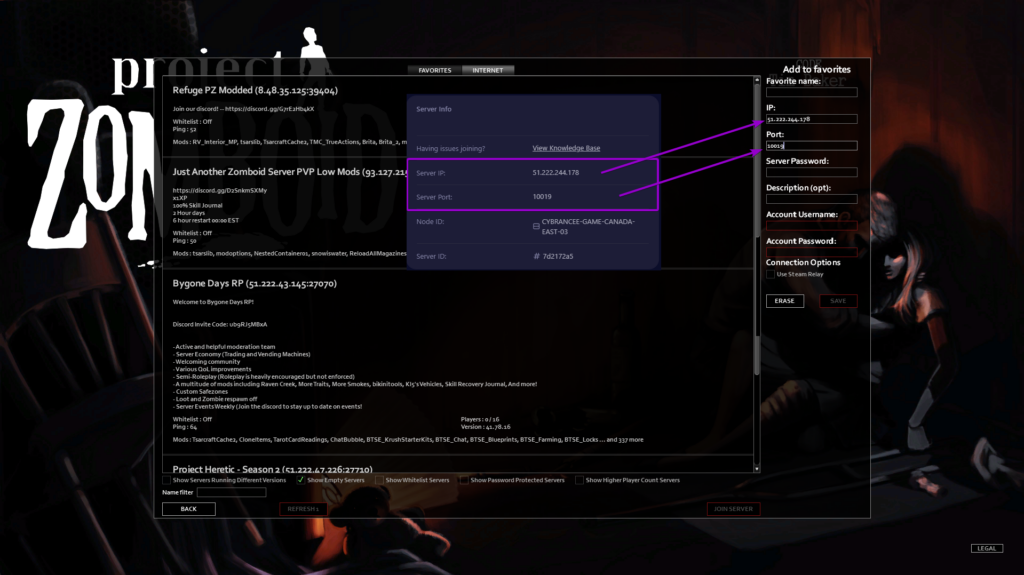
Enter the IP Address and Port from panel as well as your Account Username and Account Password. If you are joining as Admin, use the credentials in the Startup Page.
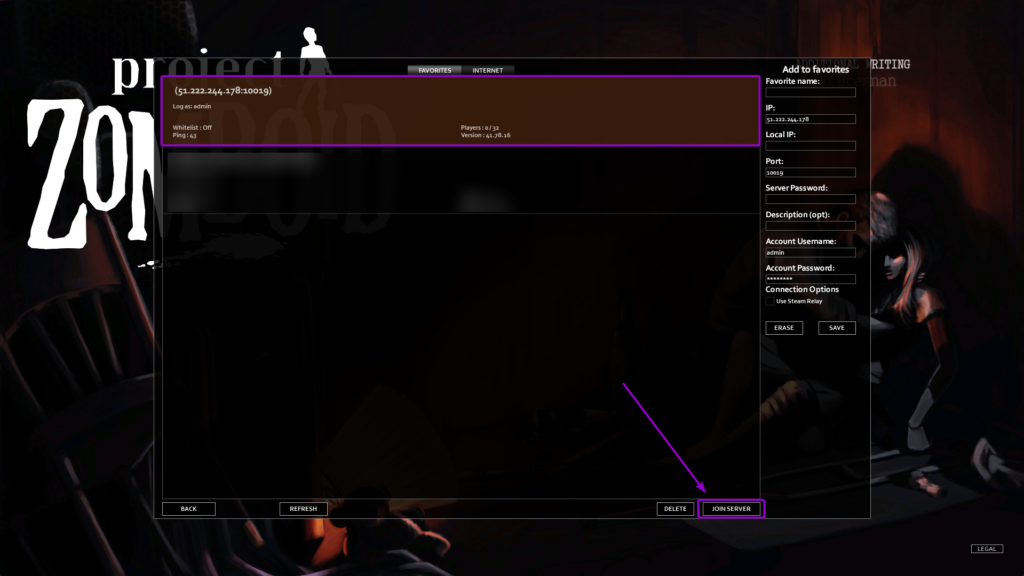
Join the Server
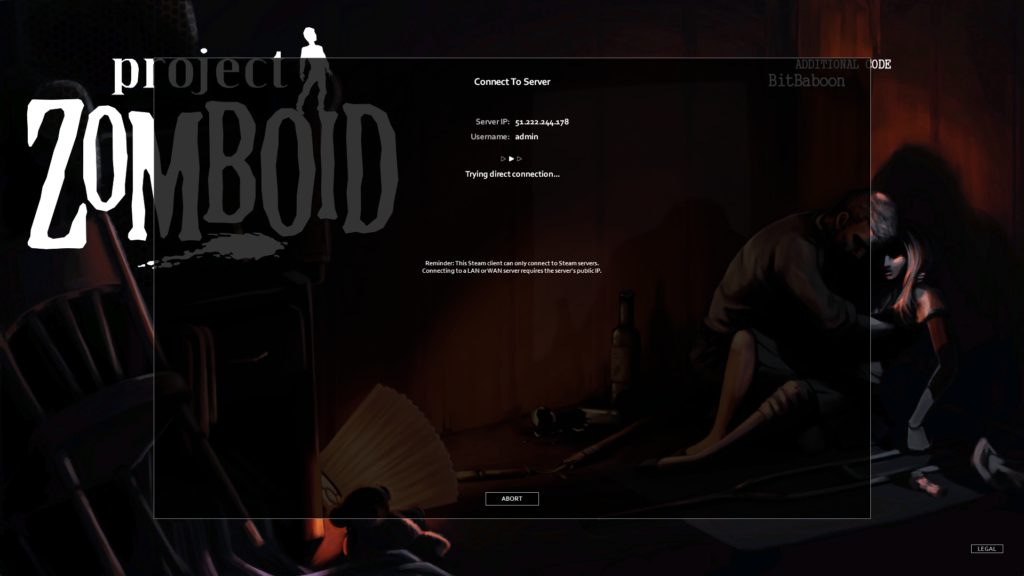
Play Project Zomboid! 🎉

You are now ready to play Project Zomboid.
