
When you play Minecraft with your friends, you can play locally or on a server. Playing locally means you are all playing in the same room on a shared world. However, if your friends want to play in a shared world outside of your home, you will need a server. Setting up a Minecraft server gives you and your friends a world that is available whenever you and your friends are ready to play. Plus, your friends can play while you are away.
There are two ways to create a Minecraft server on Xbox. You can use the built-in Minecraft Realms or use a hosting provider (like Cybrancee).
So, here is how to create a Minecraft Server on Xbox.
Option 1: Creating a Minecraft Realm

Minecraft Realms is Minecraft’s server hosting service built into the game. It’s essentially a server that runs 24/7 and doesn’t require you to keep your Xbox running constantly. To create a Minecraft realm on Xbox, you’ll need to open Minecraft and sign in to your Microsoft account. Then, from the main menu, select “Play” and navigate to the realms tab.
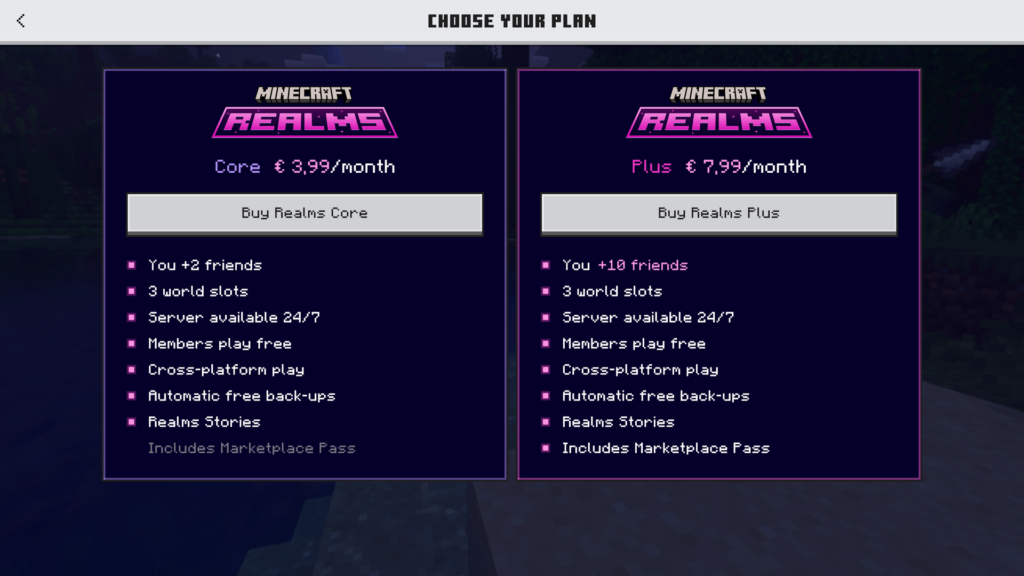
You’ll then see two plans. Both plans include 24/7 access and cross-platform play. The server will stay online, even when you are away from your Xbox. Plus, friends who are on PC, mobile, Nintendo Switch, PS5, and other Bedrock Edition devices can all join.
An interesting feature included in both plans is three world slots. This allows you to switch between different maps or game modes without losing any data.
However, the core plan only allows you and up to two friends online concurrently. The Plus plan allows up to ten friends online concurrently. Another perk for choosing the Plus plan is the Marketplace Pass. This pass gives you access to add-ons, skins, and texture packs at no extra cost. Both plans also offer a 30-day free trial to test the service if you are a new subscriber.
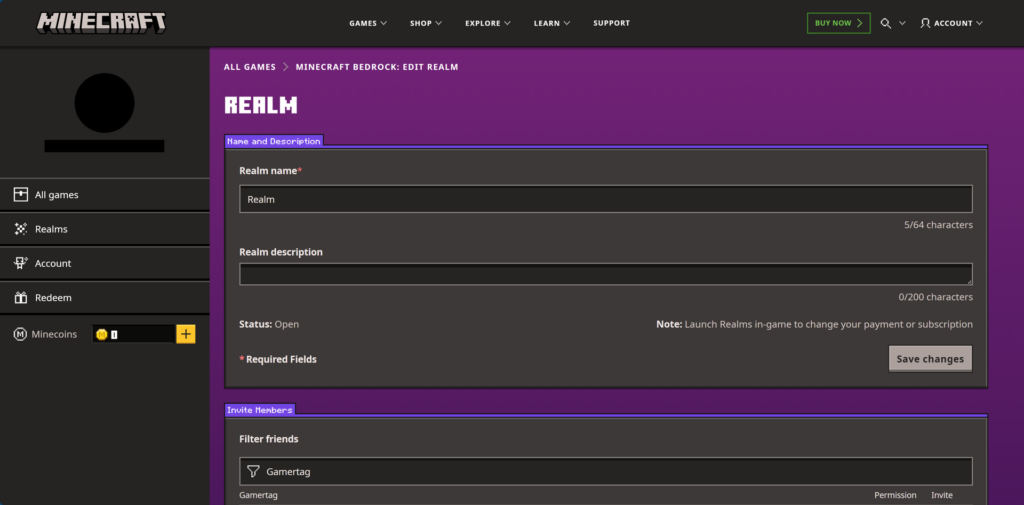
Once you choose the plan that fits your needs, purchase the plan and then move on to configuring your world. You’ll need to name your realm, select a world, and change the game settings. Choose a name that is something your friends will recognize. When picking a world, you can generate a brand new world, choose from a template from the marketplace, or use an existing world you have already been playing on. In the game settings, make sure you set your preferred difficulty level and what game mode you want the world to be on.
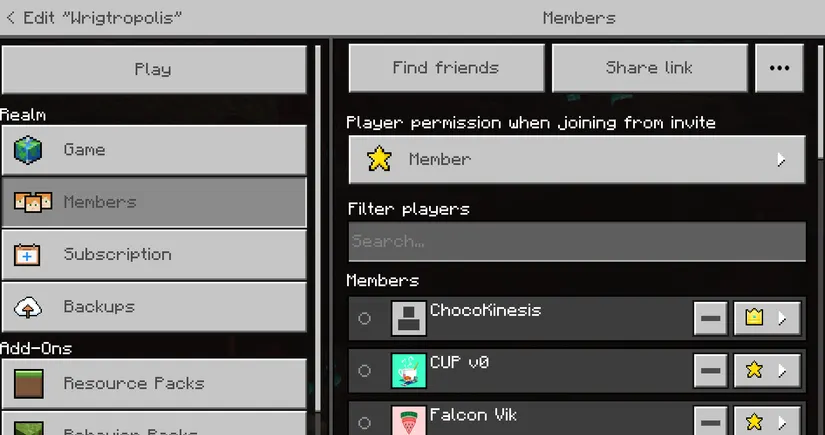
To invite friends to your realm, select Members and either search for your friends by their username or copy a shared link and send it to your friends so they can join.
The owner of a realm can also assign trusted players an admin role to help manage their realm. Admins can manage the members list and configure the settings in the realm. They do not have the power to manage the subscriptions or promote other players to admin.
Limitations of Realms

Although Realms is convenient, it’s not a solution for everyone. There are multiple drawbacks to owning a Minecraft realm.
Even on the plus plan, Realms limits you to ten concurrent players. If your friend group is larger than that, a realm will not support everyone at once.
You also cannot install plugins or make changes to the server’s core configuration files. What you see in the settings menu is what you are stuck with. Essentially, you are locked into the vanilla Minecraft experience.
Option 2: Using a Hosting Provider
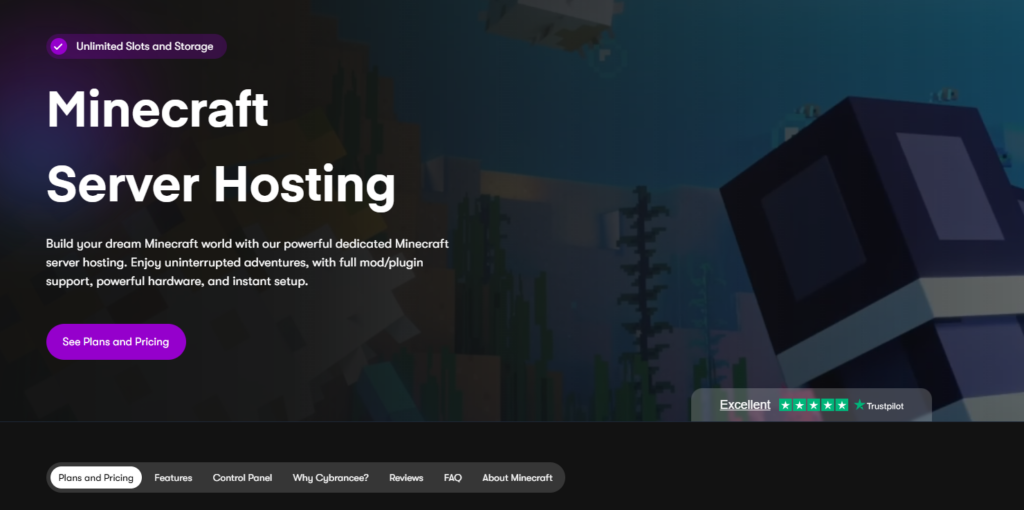
If Minecraft Realms does not meet your needs, a hosting provider is a better route. A hosting provider runs a powerful server in a data center. Everyone gets a share of resources (such as RAM, CPU, and storage) for a low monthly price. Your world will always be online 24/7, even when you’re away. Plus, you have more flexibility than Realms offers since you get access to a server control panel to manage everything.
For Xbox players, you will need a host that supports Bedrock Edition, since that is the edition Xbox runs on. We recommend using Cybrancee as the hosting provider, as they are featured in the top 5 best Minecraft server hosting providers. They offer Bedrock Edition hosting with high-performance Ryzen CPUs, NVMe SSD storage, and a 90-day money-back guarantee.
Choosing the right plan and specs
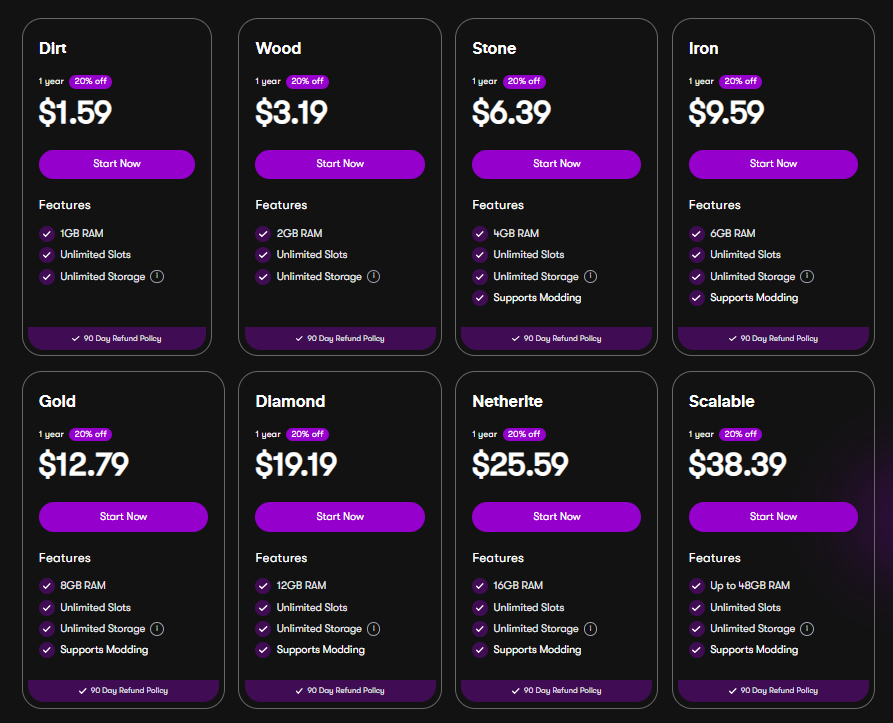
Most hosting providers, like Cybrancee, list all of their plans by RAM. Server RAM is a big factor in Minecraft server performance. If your server has fewer than 10 players playing, it’s recommended to have 2 or 4 GB of RAM. If you have more than 10 players, it’s recommended to have at least 4 GB of RAM.
When in doubt, choose a plan with more RAM than what you think you might need. If you’re not sure where to start, Cybrancee has a Minecraft RAM Calculator that can help you figure out the right plan based on your expected player counts.
However, RAM is not the only factor in Minecraft server performance. There are other specs to consider, such as storage and CPU.
Storage adds up over time. Minecraft worlds grow as players explore more chunks. Larger worlds with more players generate data more quickly. SSDs are way faster than traditional hard drives for chunk loading and saving the world. Most hosting providers, such as Cybrancee, use NVMe SSDs.
CPU also matters a lot. A fast modern single-core processor handles more players and complex redstone builds far better than a slower multi-core setup. When searching for hosting providers, look for providers that are transparent about their processors. For example, Cybrancee runs on high-performance Ryzen CPUs.
How to Set Up Your Server
Step 1 – Choose a plan: Choose a server plan based on your expected player counts. If you expect more players, consider picking a plan with more RAM.
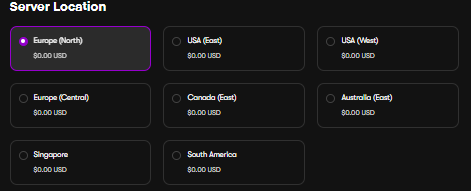
Step 2 – Pick a server location close to you and your players: You will be given several locations to host your server. Cybrancee has servers across North America, Canada, South America, Singapore, Australia, and Europe. Make sure to pick the location closest to you and your players for the best performance possible. If you pick a location that is far away, it’s likely you will experience more lag than usual.
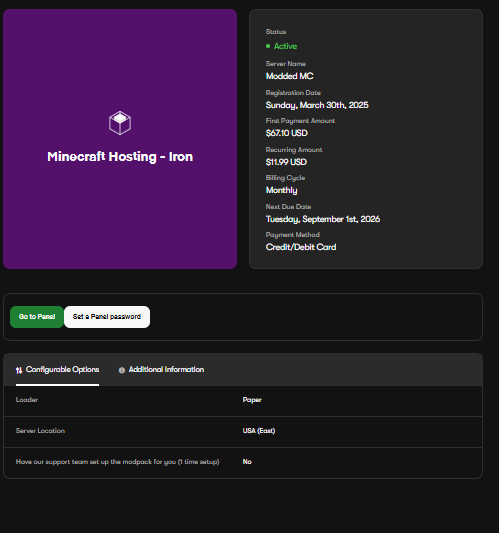
Step 3 – Purchase and access the control panel: Once you pick your server location, purchase the plan. After purchase, you’ll receive login details for your server control panel. Use those details to access your server panel. In the panel, you’ll be able to start and stop your server, manage server files, view the performance of the server, and more.
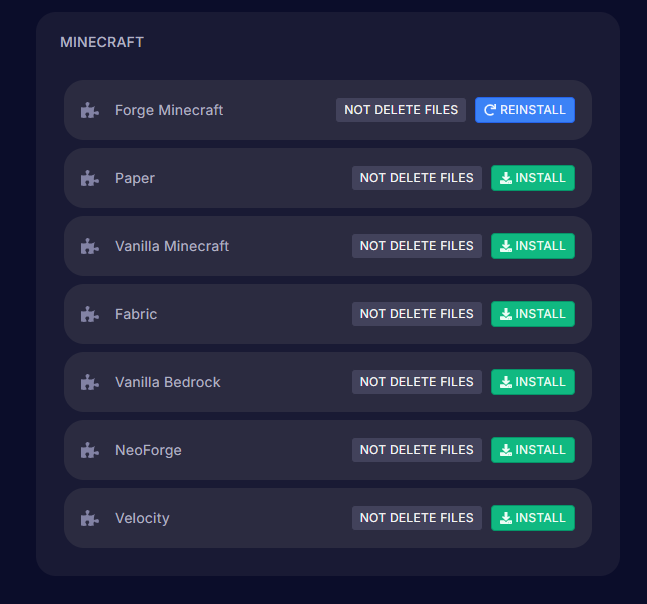
Step 4 – Install the Vanilla Bedrock server software: From the control panel, you need to select the “Vanilla Bedrock” server type. Double-check to make sure it is NOT Java edition. If it is, change it.
Step 5 – Configure your settings: Open the server.properties file and configure the server name, max player count, and game mode.

Step 6 – Go live: Once you have configured the settings to your preferences, start your server from the control panel. Under the server name, you will find the IP address. This is what you will give to players so they can join.
Control Panel Features
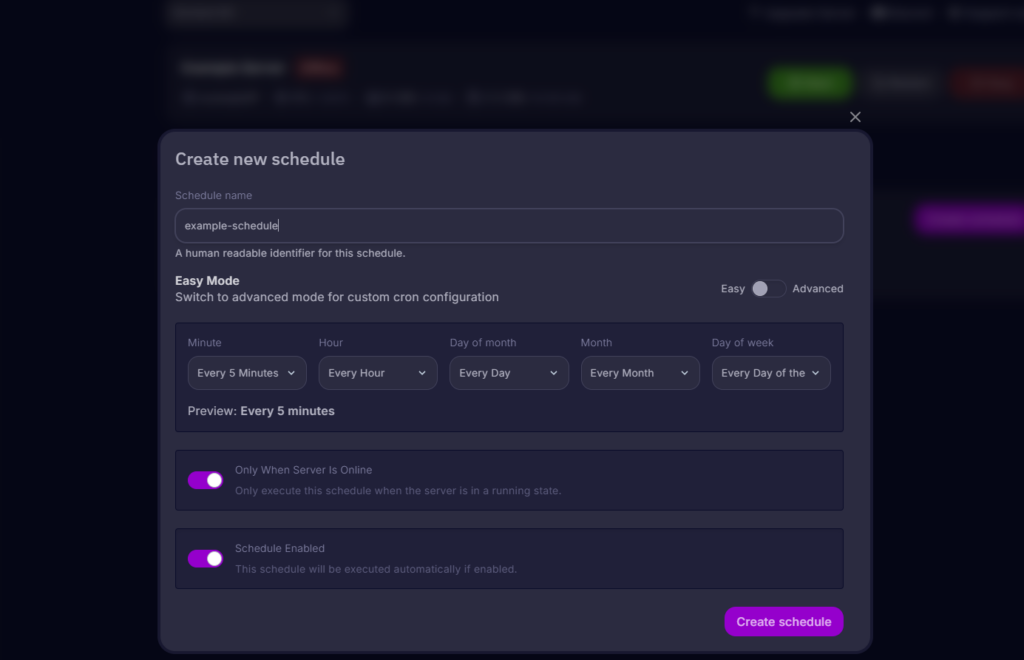
Scheduled Backups and/or commands: You can set up automatic backups on a schedule. If something goes wrong, you can restore your server to a previous state at any time in the backups tab in your panel. You can also schedule commands to run in addition to backups.
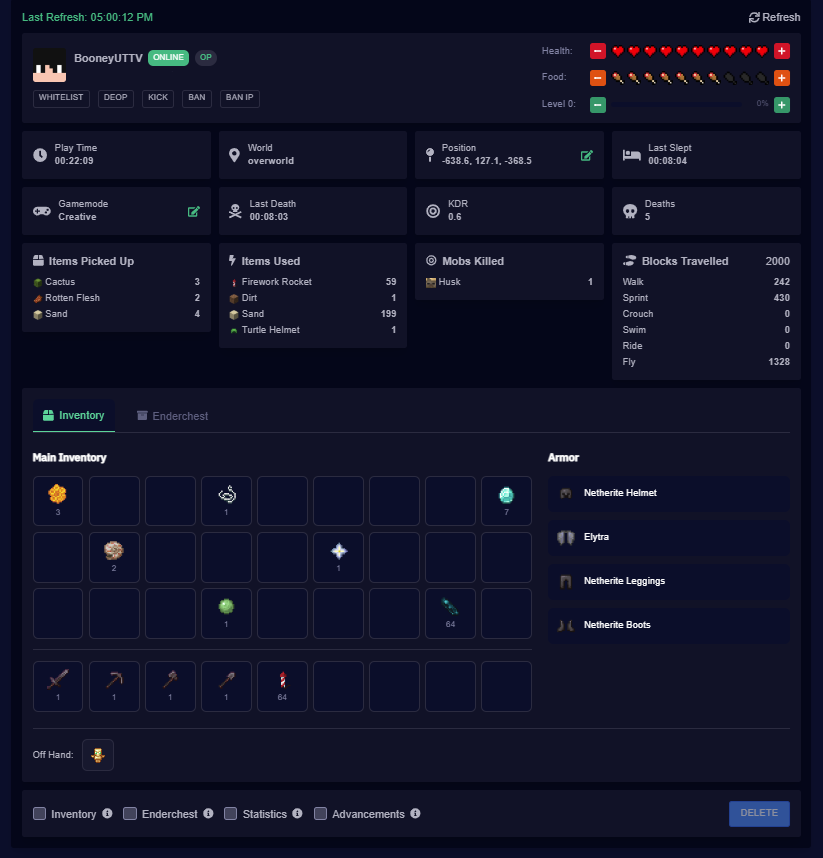
Player manager: From the player manager, you can click on a player and view their inventory, enderchest, playtime, health, and more. Plus, you can manage their operator permissions, kick, or ban them right from the manager without having to run commands through the console.
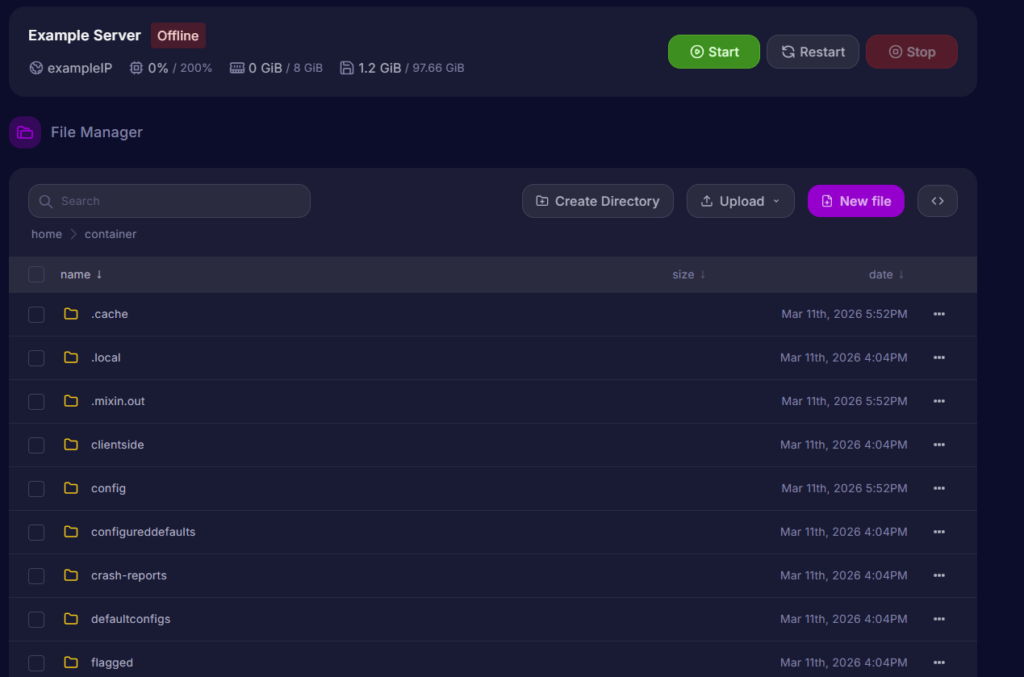
File manager: You can access and edit all server files directly in the panel without having to use SFTP software. However, SFTP is still an option for large file transfers.
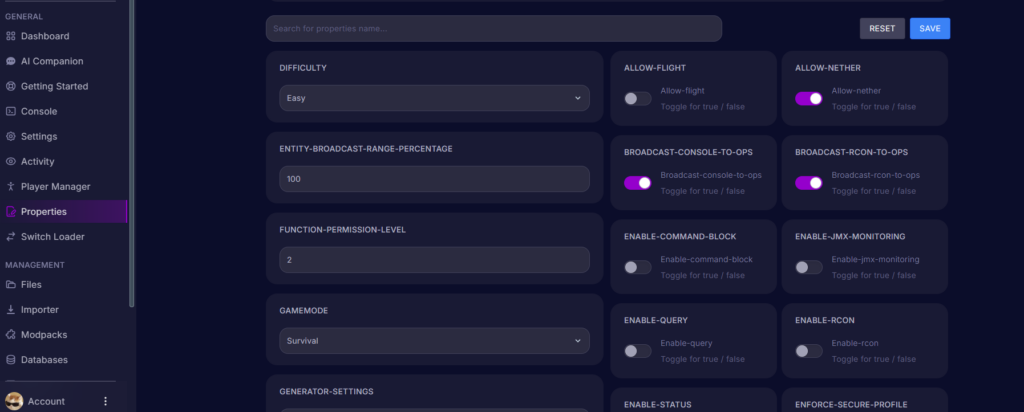
Properties: Control how the world behaves by adjusting the seed, structures, game rules, and more. You can adjust the game mode, max player count, spawn settings, and more within the panel.
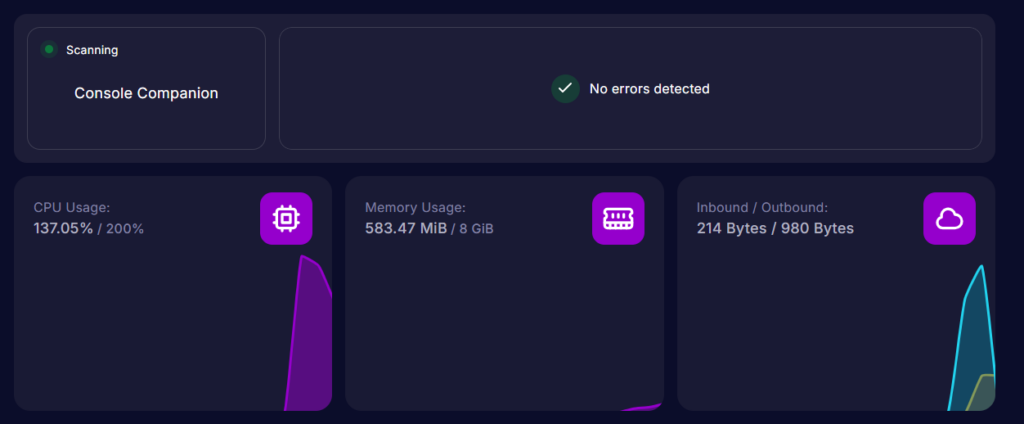
Server performance monitor and console companion: The console companion will flag if any errors are detected (such as something not loading correctly). Plus, the server performance monitor helps you keep an eye on your server’s real-time CPU and memory usage.
Best practices
Keep the server updated: Minecraft releases updates regularly. Staying up to date means better performance and security.
Set up a whitelist: Turn on a whitelist to prevent strangers from joining. Make sure to add your friends or other people you want on your server so they can still join you.
Monitor your TPS: A server’s TPS (ticks per second) usually sits around 20. If it isn’t around 20, it usually means something is overloading the server, like a farm with too many mobs or a big redstone contraption.
Back up regularly: Set up automatic backups and store them separately from your server files. In the Cybrancee control panel, there is a built-in backup tab where you can restore a previous version quickly.
Know when to upgrade: A consistently low TPS and a growing player base are signs to consider upgrading your server’s RAM.
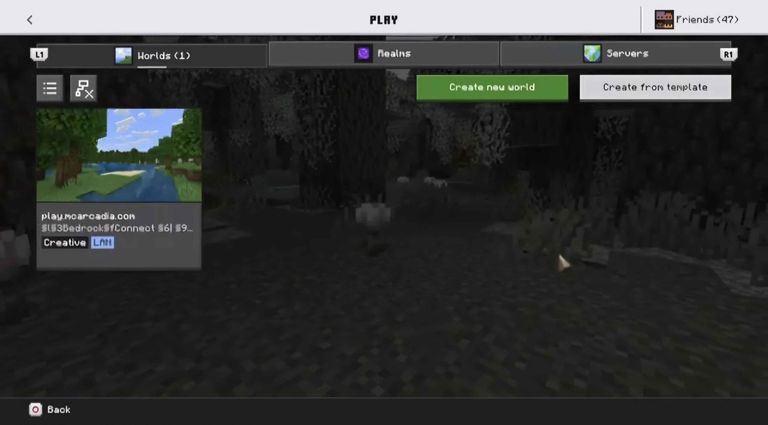
Joining on Xbox with BedrockConnect

Unfortunately, Xbox has strict security policies that prevent players from manually adding third-party servers to their server list the same way PC and mobile players can. However, the BedrockConnect app works around this problem. When you download the app, you can browse popular Bedrock servers not featured by Minecraft or enter a custom IP to connect to. In this case, enter the server IP and port from the server panel into the app.
Now, tap the server you just added and click the start button. If you’re on an iOS device, you may see a pop-up asking to find and connect to devices on your local network. You must tap “Ok”; otherwise, the app can’t communicate with your console.
Now, launch Minecraft on your console and go to your world list. Find the server on the world list and click it to join.
If you don’t see the server on the world list, make sure your device that is running the app is on the same Wi-Fi network as your console. Do not use a VPN, mobile data, or a guest network.
Note that BedrockConnect also has a premium version. While it’s not required to join the server, purchasing premium will remove ads, and you can rejoin without restarting the connection every time.
How to Join The Server For Non-Console Players
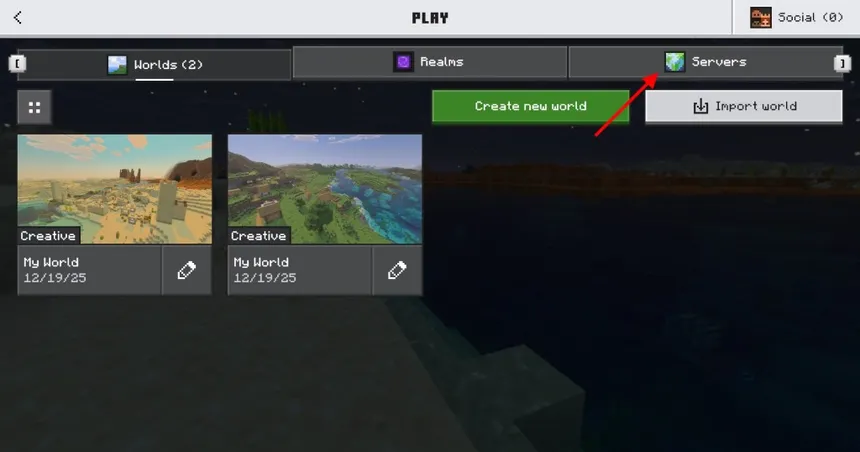
To join a Bedrock Edition server where the device is not a console, you’ll need to launch Minecraft Bedrock Edition and navigate to the servers tab. Scroll down and find the “Add Servers” button. Enter the server name, IP address, and port. Save it, and the server will now appear in your list. Select the server and click “Join Server” to connect.
If someone cannot connect, the most common causes are a mistyped IP or port, the server is stopped in the control panel, or a whitelist is enabled and has not been updated to include players. All of these can be checked and fixed directly in the Cybrancee control panel.
Summary
There are two ways to get a server running on Xbox. Realms is the simplest option as it’s built into the game, has no advanced technical setup, and works well for small friend groups. However, you’re unable to modify any of the server configuration files, which locks you into a vanilla experience.
A hosting provider gives you more control by allowing more players on the server, full file access, and more server configuration options. With Cybrancee’s Minecraft hosting, setup takes only a few minutes, the performance is reliable, and you are not limited to how many players can join. Plus, the 90-day money-back guarantee means there is no risk in trying it out!
For Xbox players, to join third-party hosted servers, you need the BedrockConnect app due to Xbox’s restrictions on manually adding custom servers. PC and mobile players on Bedrock can connect directly to servers using the Servers tab without a workaround.
Happy Gaming!