How to Host a Discord Bot
The following guide will be using a Python Discord bot, however, the steps remain almost identical for all other languages (JavaScript, Java, C#, Rust, GoLang).
Log in for the First Time
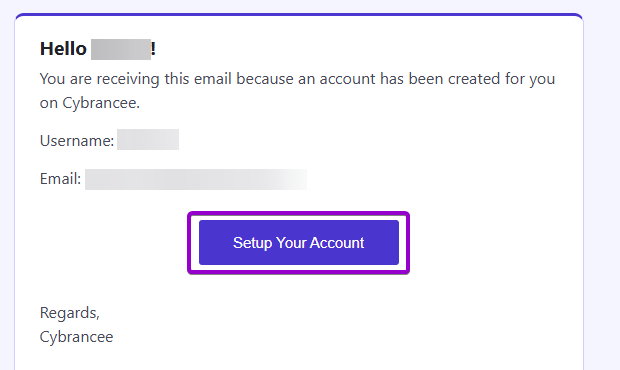
After placing your order on the Cybrancee website, you will receive an email confirming your order as well as an email inviting you to create your panel account. To get access for the first time, you will need to create your panel account. Click the 'Setup Your Account' button.
If you did not receive this email, you can go to panel.cybrancee.com and do a Password Reset from there.
Set Your Password
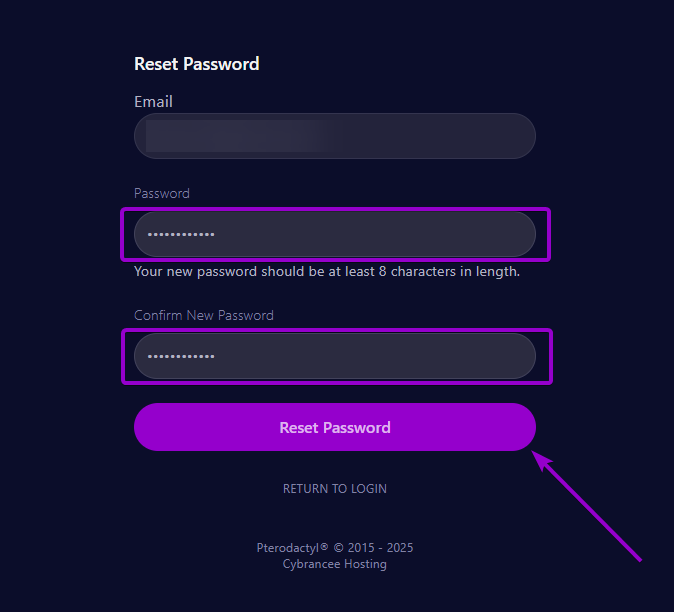
Set your password using the provided fields.
Access Your Panel Dashboard

You will be taken back to the login page where you can now log in with your new set of credentials. Once logged in, you will be presented with the Cybrancee Pterodactyl Control Panel. This is where you will manage your Discord Bot server and configure it to how you like. From here, click on the 'Manage Server' button.
Locate Your SFTP Details
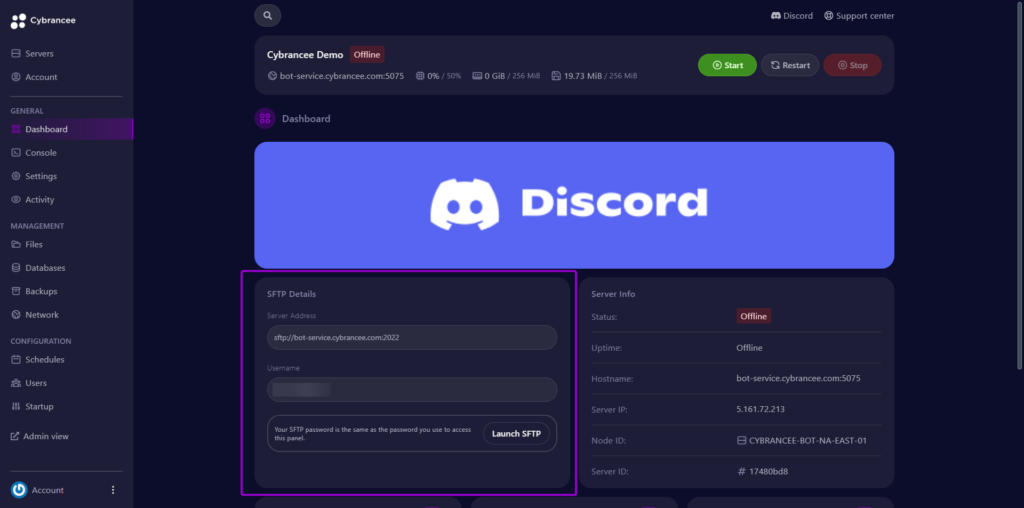
You will now need to upload your bot files. The best way to do this is by using SFTP. Firstly, head over to the Settings page. Your SFTP details will be listed on this page. You will be provided a username and hostname. The password is what you used to sign into your Pterodactyl panel. To connect to the SFTP host, install an FTP tool such as FileZilla (https://filezilla-project.org/download.php?type=client).
Connect via SFTP

Open FileZilla or the SFTP tool of your choice, and enter the values mentioned in Step 5 into the application. The port is 2022. Once connected, the files on the left represent your local drive, and the files on the right represent your server files.
Upload the Files

Once connected, all you need to do is upload the bot files to your server. Drag the bot files/folders from your local computer over to the server.
Configure Your Bot Server
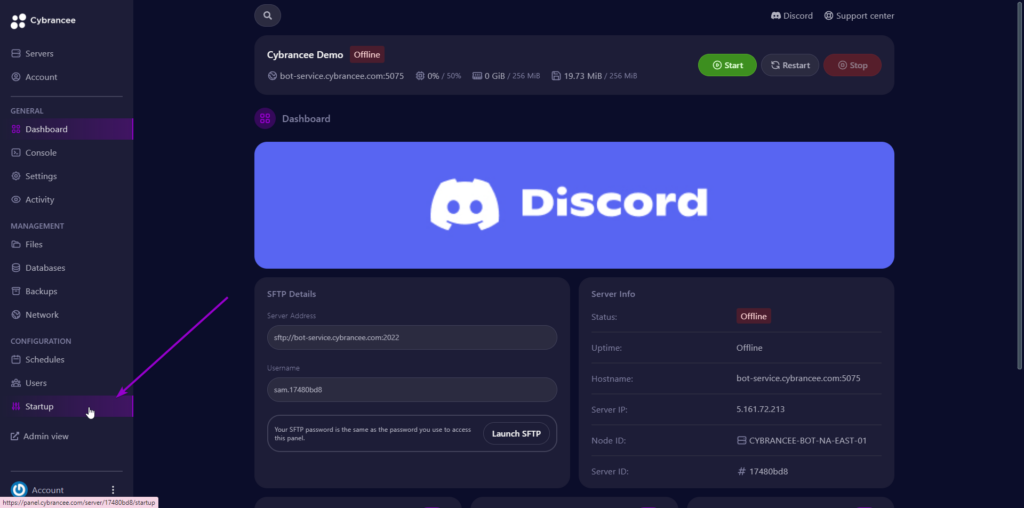
After your files are uploaded, you'll need to set the version of your language to be what your bot requires. To do this, go to the 'Startup' page.
Change the Version
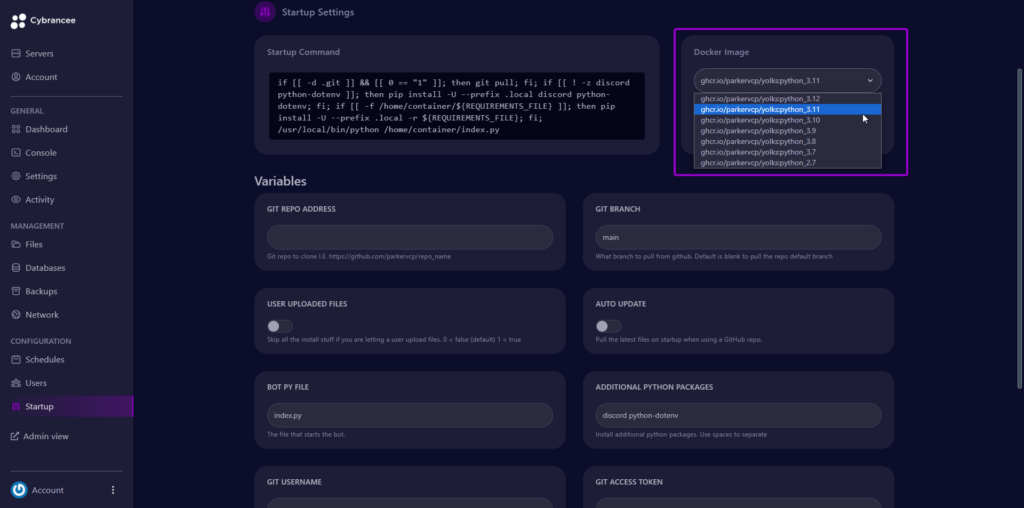
Click on the 'Docker Image' dropdown and select the desired version.
Set the Bot File
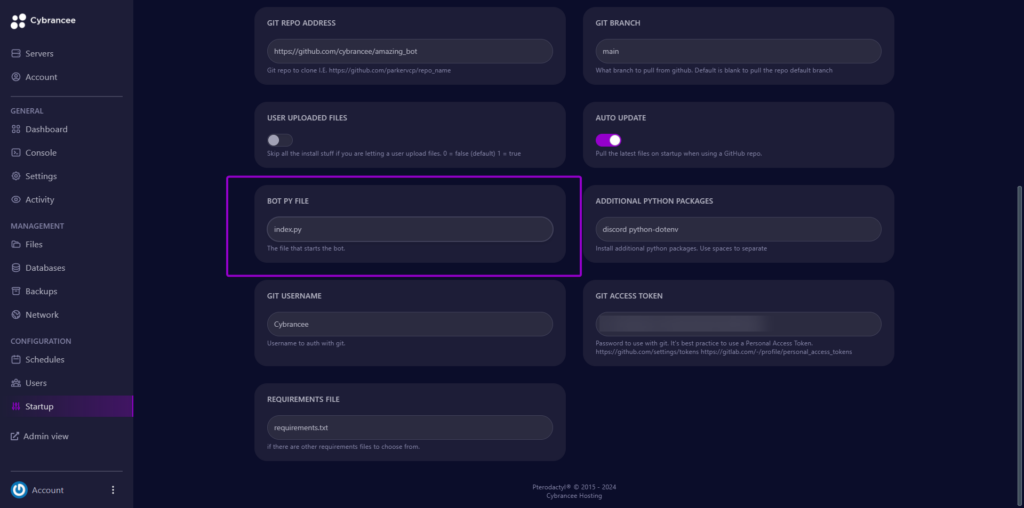
You will now need to tell the panel which file to use when starting your bot. This is done in the 'BOT PY FILE' (or may be labelled as 'BOT JS FILE' etc for other languages).
Add any Dependencies
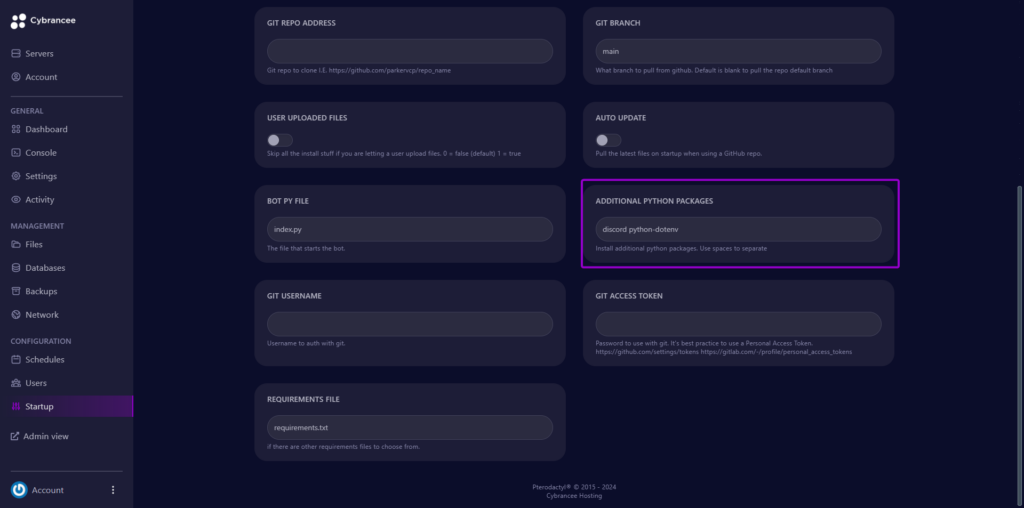
There is a field provided where you can input any dependencies that your bot requires (you need to enter any dependencies here so that the panel will fetch them when the bot runs).
Start Your Bot! 🎉
Head back to the console page and turn on your bot!
