How to Host a Velocity Minecraft Server
Log in for the First Time
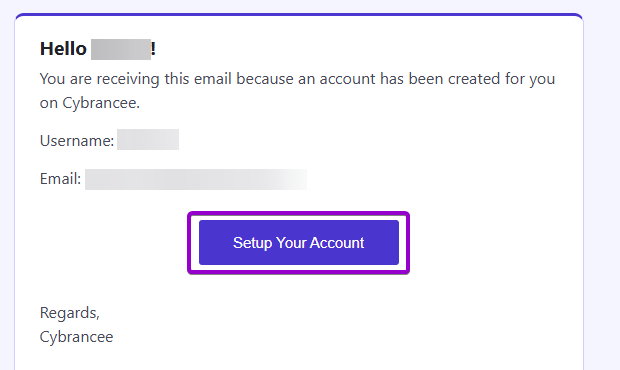
After placing your order on the Cybrancee website, you will receive an email confirming your order as well as an email inviting you to create your panel account. To get access for the first time, you will need to create your panel account. Click the 'Setup Your Account' button.
If you did not receive this email, you can go to panel.cybrancee.com and do a Password Reset from there.
Set Your Password
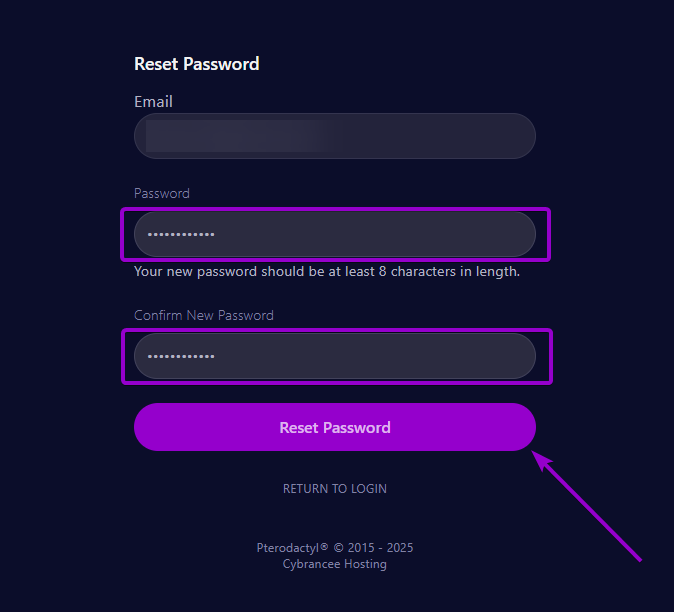
Set your password using the provided fields.
Access Your Panel Dashboard
You will be taken back to the login page where you can now log in with your new set of credentials. Once logged in, you will be presented with the Cybrancee Pterodactyl Control Panel. This is where you will manage and configure your game server. From here, click on the 'Manage Server' button.
Get Your Forwarding Secret
Open the file “forwarding.secret” and copy the text. This is the key that velocity will send to server when connecting.
Navigate to the Proxy Server
Navigate back to the “Servers” page and select the server to proxy.
Navigate to the Config Folder and Open “paper-global.yml”
Navigate to the config file and scroll down to the velocity option.
Change The “enabled” and “secret” Options
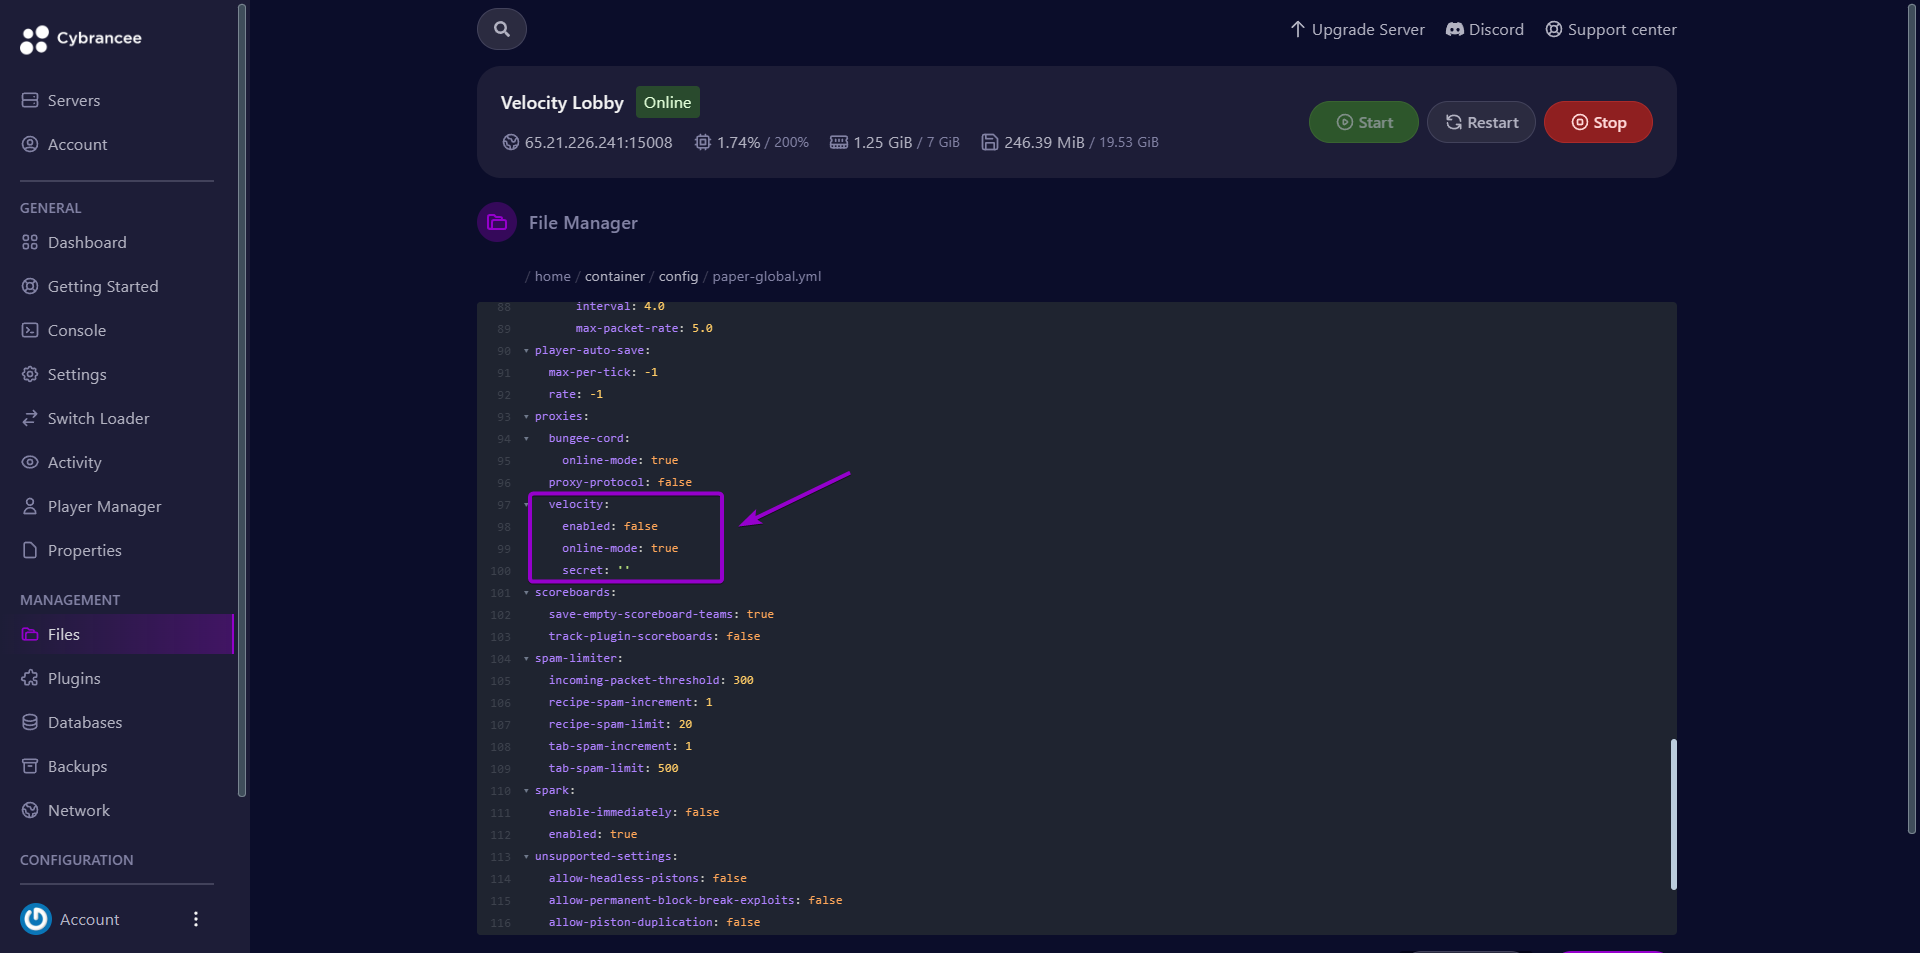
Change “enabled” to “true” and change “secret” to your secret from Step 5 and click save.
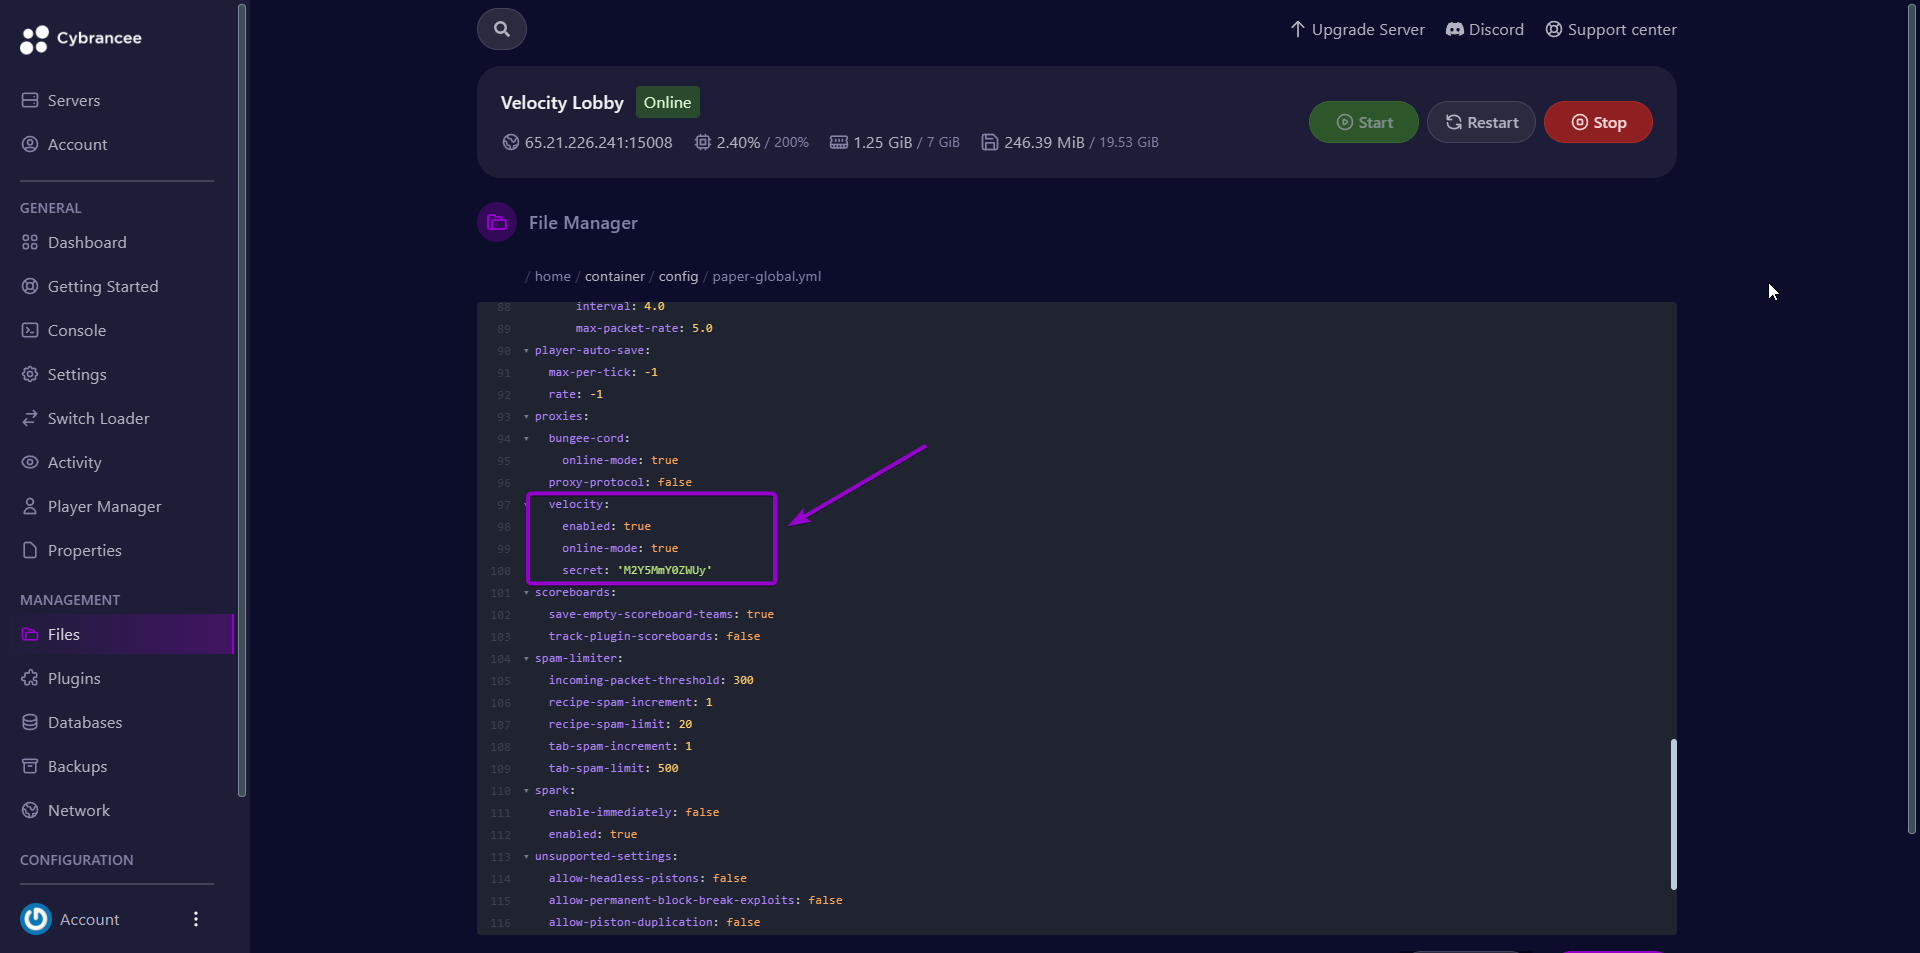
It should look like this.
Restart the Server and Copy the Connection Details

Restart the server for the changes to take effect and copy the connection details for the server so velocity knows where to send players.
Navigate Back to the Velocity Server
Navigate back to the velocity server and re-open “velocity.toml” and scroll down to the “servers” option.
(Optional) Delete Everything in “forced-hosts”
Forced hosts are likely not needed for the average user and can cause issues if not configured properly, so it is best to delete.
Delete the Options for “lobby”, “minigames”, and “factions”
Delete the options for the default servers: “lobby”, “minigames”, and “factions”. Be sure to keep the “try” option.
Add Your Server Name and Connection Details
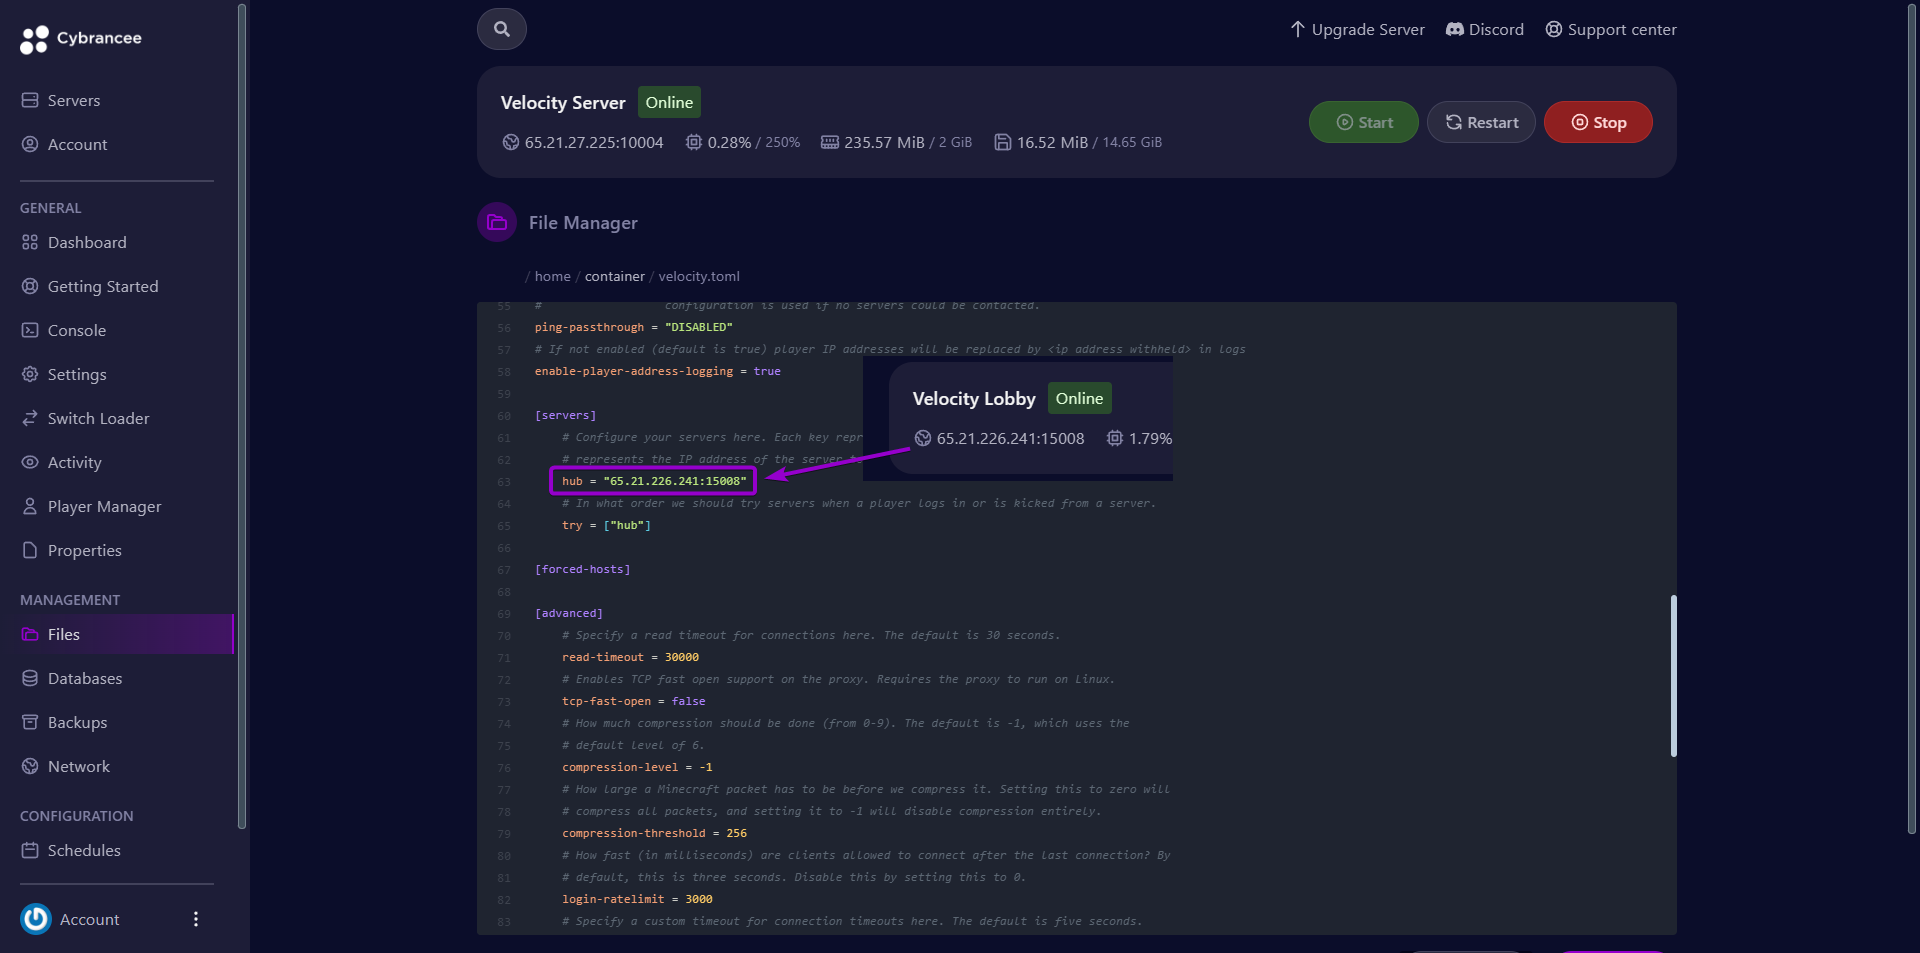
Within the “servers” option input the name of the server you would like to add followed by the connection details from Step 9. For this guide we will call the server “hub”.
Change the Name in “try” to Your Server Name
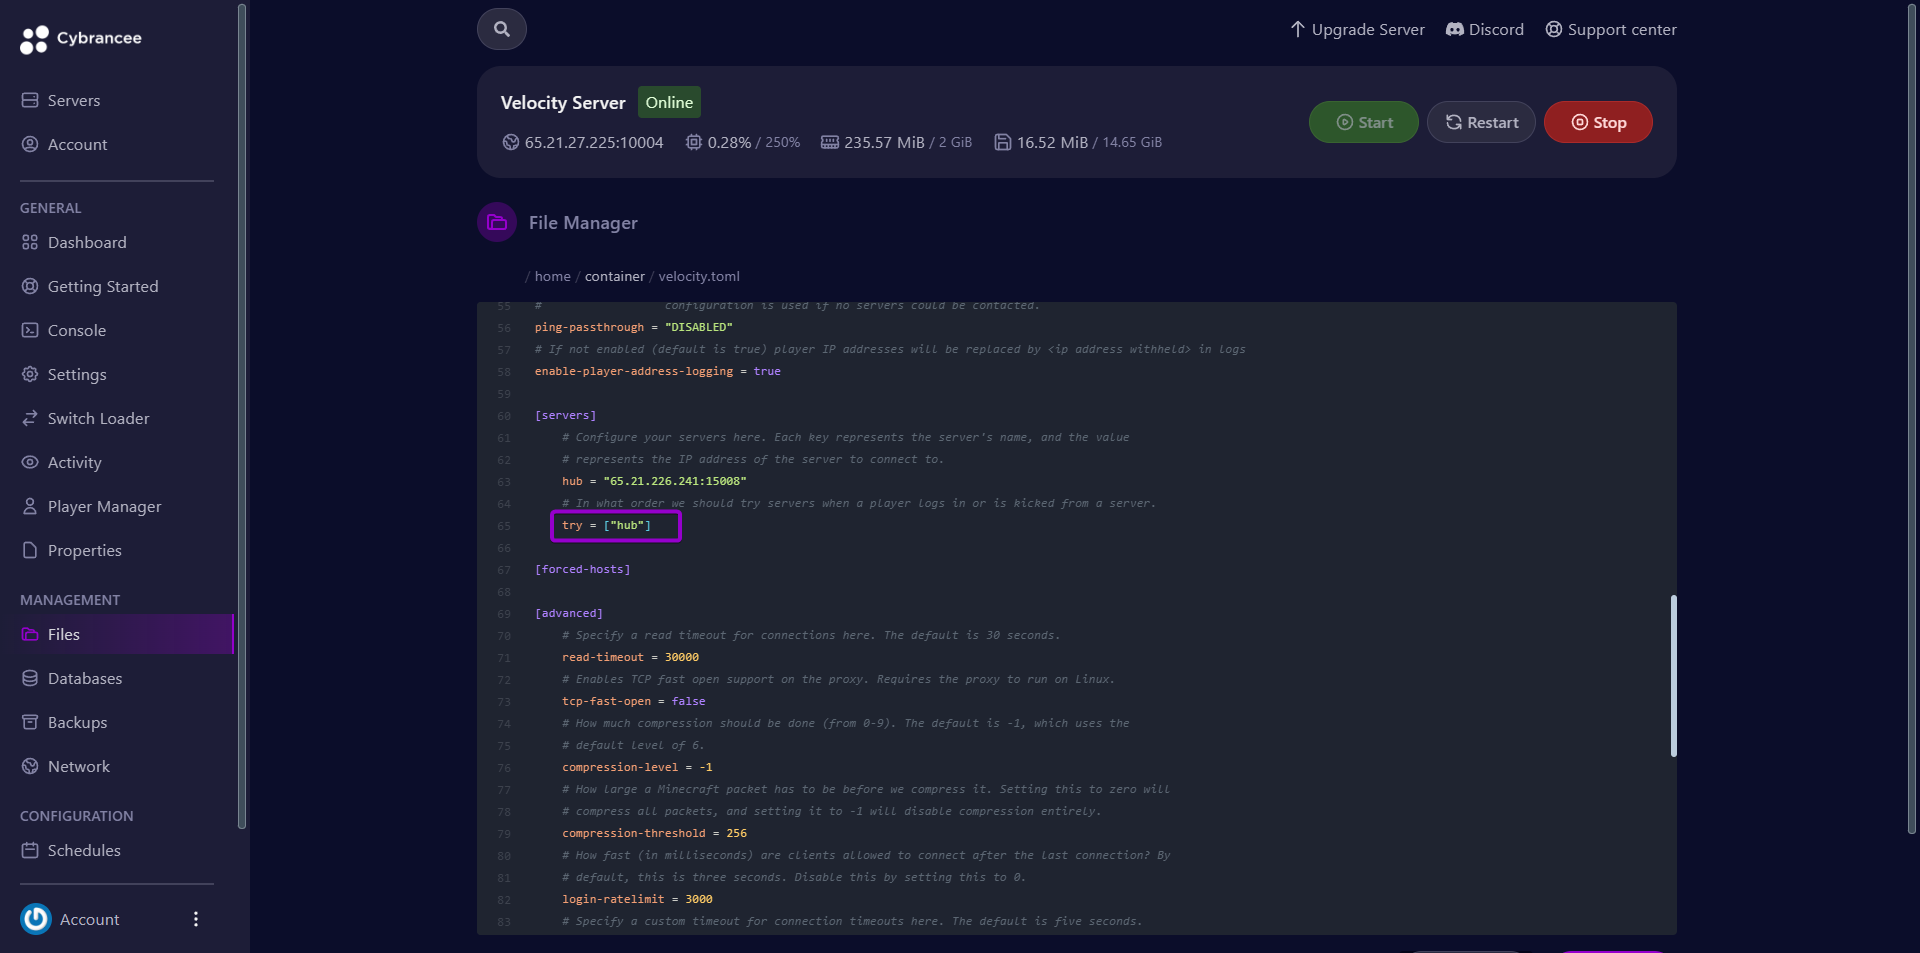
This will determine what server to send your players to. Change the default value of “lobby” to the name of your server. Since we used “hub” for ours, it will look like this.
Save the File and Restart the server
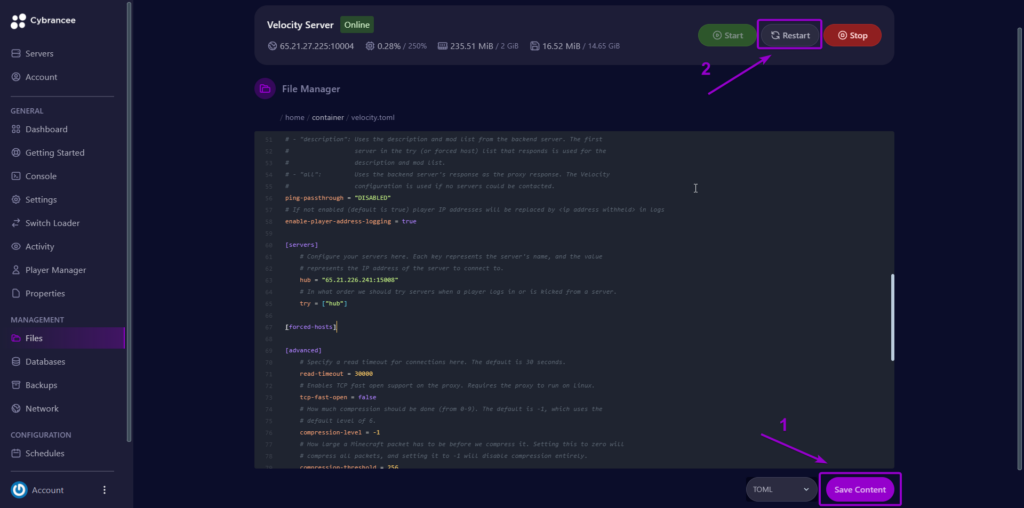
Save the file to set the changes that were made, then restart the server for them to apply.
Copy the Connection Details for Your Velocity Server
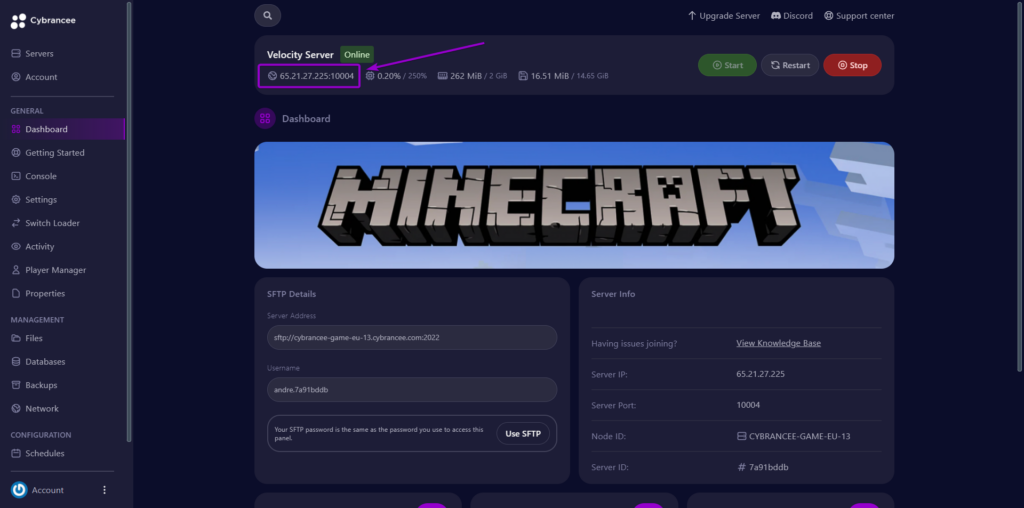
Copy the connection details of the server.
Open the Minecraft Game

Open the Minecraft launcher and select the same version as the server. Click the 'PLAY' button.
Open the Multiplayer Page
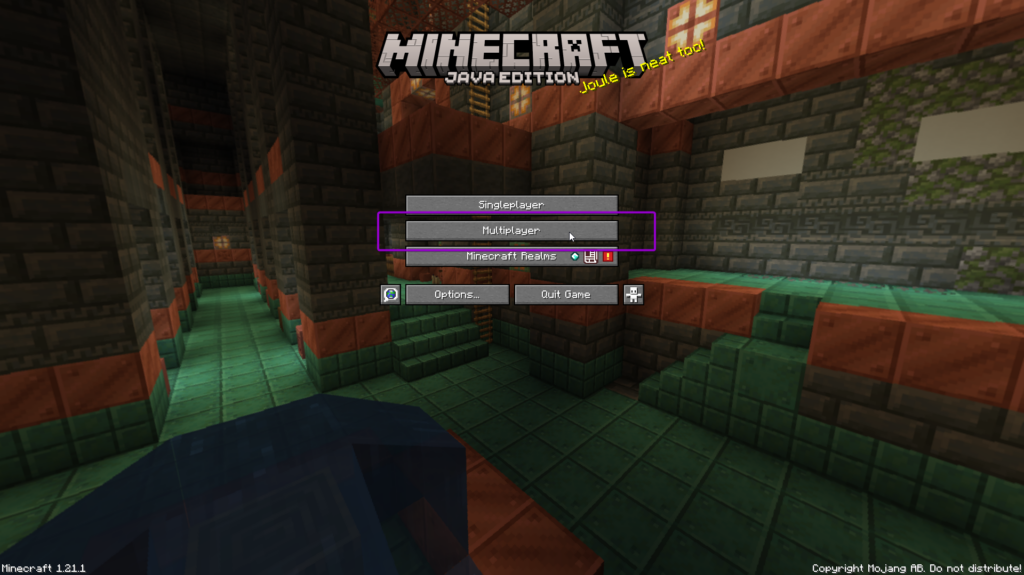
Click the 'Multiplayer' button on the Minecraft homepage to begin adding your new server.
Add the Server
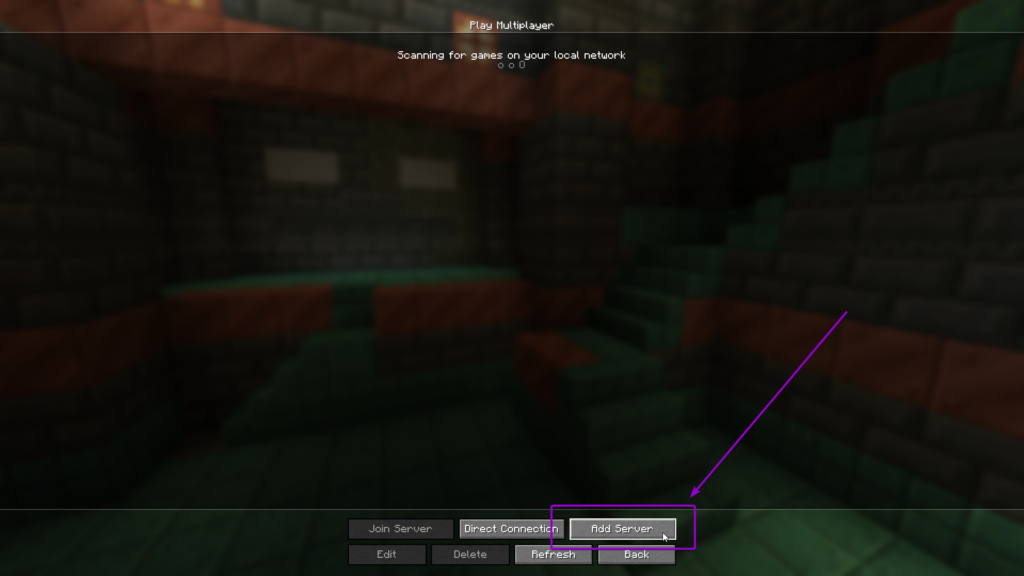
Click the 'Add Server' button so you can begin entering the details for your new Minecraft server.
Add Your Server to Your Minecraft Client
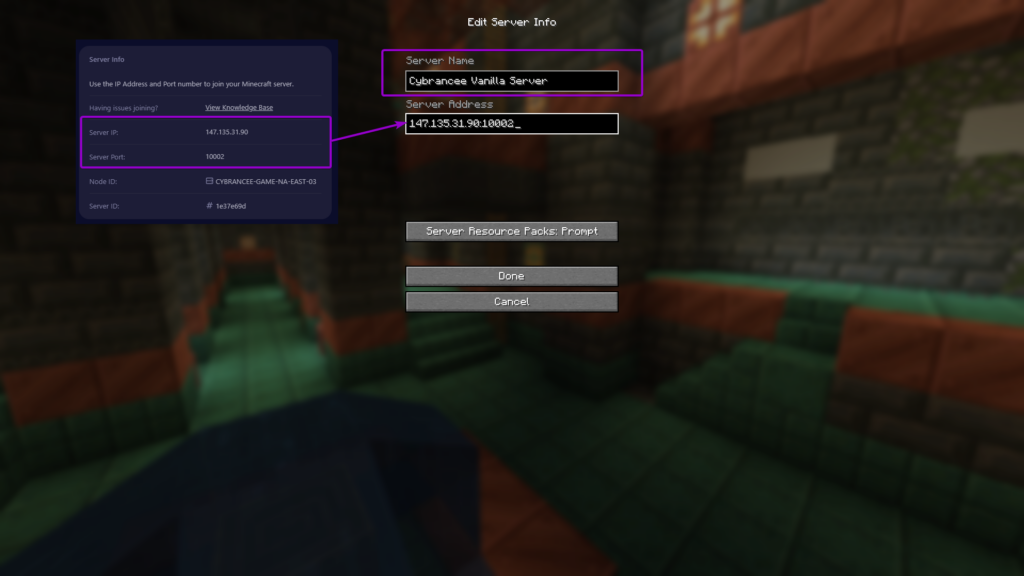
Give the server a suitable name and enter the IP address and port from Step 15 into the 'Server Address' field, use the format IP_ADDRESS:PORT (e.g., 123.123.123.123:5000) - This is very important. Press 'Done'.
Join Your New Server
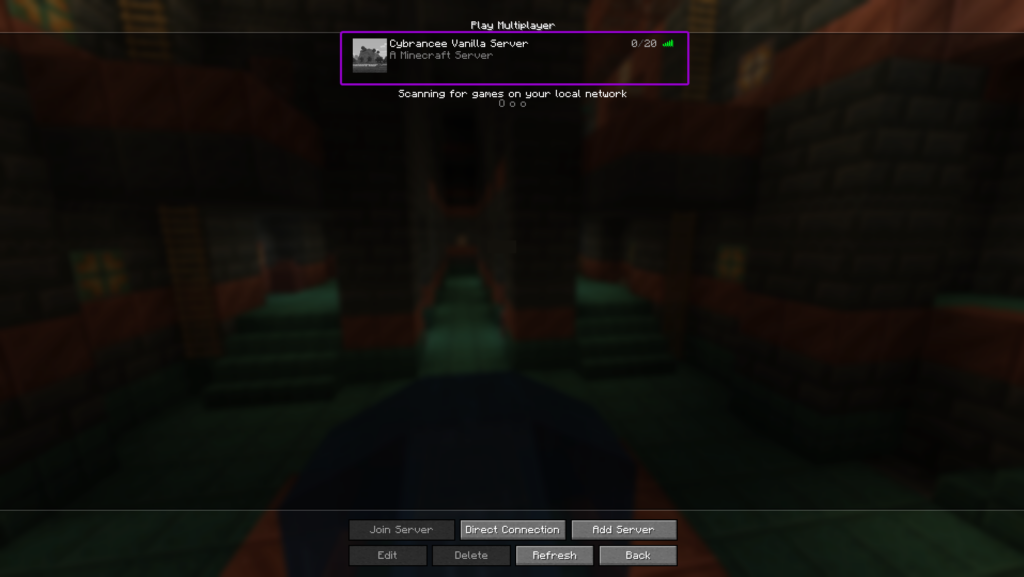
Double click the server to join it - and you're in!
Play Minecraft! 🎉
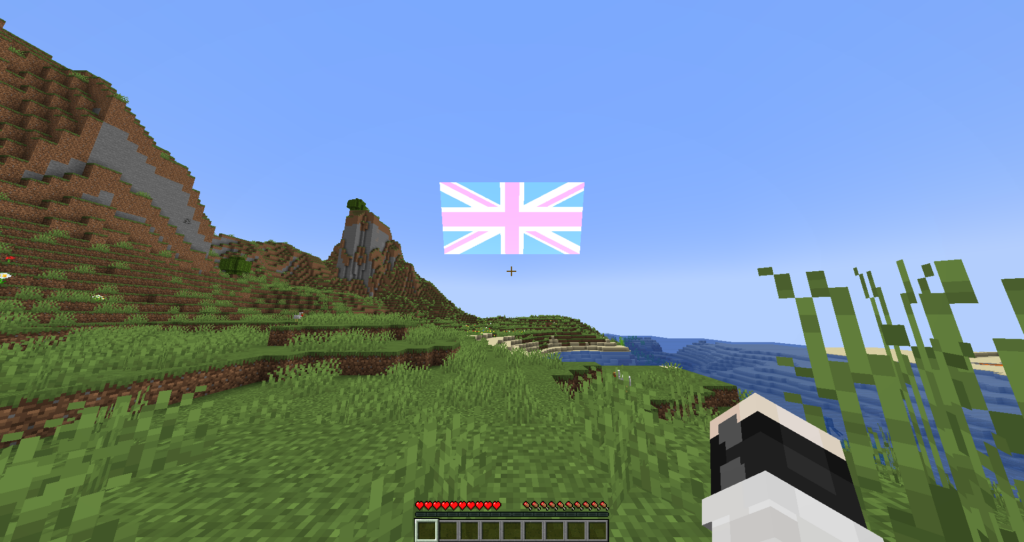
You are now ready to play on your Velocity server.
