

After you’ve been on the same Minecraft world for a while, some items start running out much faster than you’d expect. Gunpowder is probably the first one you notice after getting an Elytra. Rockets burn through it quickly. Then there are bones, arrows, string and XP. They aren’t hard to get, but it’s annoying when you need them and you don’t have.
That’s usually when a mob farm starts sounding like a good idea. Just build the farm once, then stand in the right AFK spot, and let it run while you’re doing something else. You don’t have to walk around at night looking for zombies and creepers. But a mob farm can also be one of those builds that looks perfect but gives you nothing. You stand there for five minutes, check the chest, and there’s barely anything inside it. Sometimes the farm is the problem. Sometimes it’s the caves underneath it. And sometimes you’ve just been standing in the wrong place.
This blog is mainly about Java Edition farms, since spawning rules and farm behaviour are different between Java and Bedrock.
How Mob Spawning Works
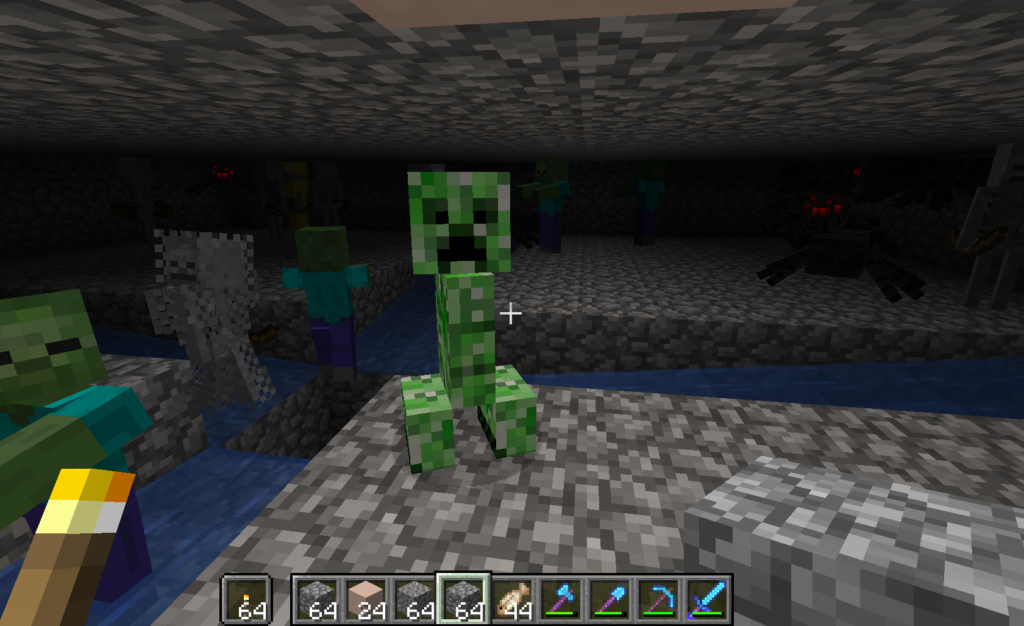
You’re basically trying to make your farm the easiest place for hostile mobs to spawn around you. Since Java Edition 1.18, monsters need block light level 0 to spawn naturally, although some mobs have their own rules. Spawners also work differently.
Distance matters as well. Mobs can’t just spawn right beside you, and mobs that get too far away can despawn. This is why farm designs usually have a specific AFK spot. You need to be in the right spot for the farm to work. If you stand somewhere else and mobs might start spawning in places where you don’t want them to. Then there’s the mob cap. Minecraft isn’t going to keep creating hostile mobs forever just because your farm has a dark room. If a bunch of zombies, skeletons and creepers are already sitting in caves around you, then they’re taking up the mob slots.
That’s where you get the classic bad-farm situation. The farm looks fine. The spawning floors are dark. Everything is built exactly like the tutorial. But still you get almost nothing. Then you go underground and find a cave packed with zombies.
Where Should You Build a Mob Farm?
An ocean is usually easier to work with than land. If you build a farm over a forest then there’s a good chance you’ll have caves underneath it. There can also be dark spots on the surface once night starts. So build the same farm over an ocean and there are fewer places for hostile mobs to spawn outside the farm.
You can still build over land. It just means you have to do more work if you’re trying to get good rates. This is also why building the farm right beside your main base isn’t always a good idea. The location might be convenient, but now you’ve got caves, hills and whatever else happens to be nearby that gives mobs places to spawn. A farm doesn’t have to be miles away either. You just want the area around it to be spawn-proof. For a first mob farm, you should build something simple over an ocean rather than spending hours lighting up caves underneath a giant tower.
The AFK Spot Can Make or Break the Farm
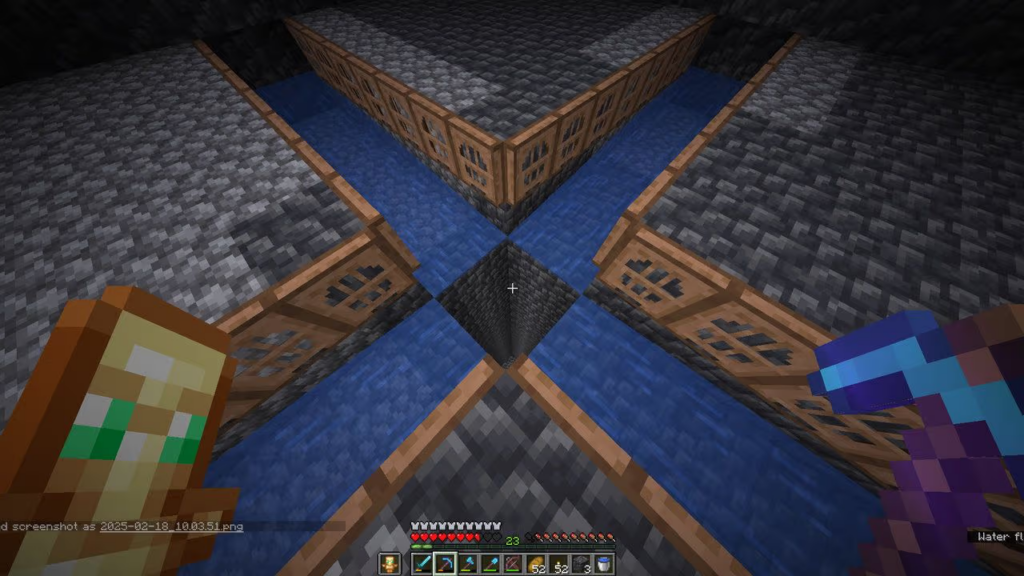
This is one of those things people don’t think about until the farm is already built. You stand at the bottom because that’s where the storage is. And nothing happens. Then you climb up to the platform from the tutorial, wait a bit, and suddenly mobs start dropping. The AFK position actually matters. Hostile mobs can’t spawn right next to you. They can also despawn if they get too far away. So standing too close to a spawning platform can stop it from working. If the farm has several floors, then even moving a few blocks in your position can change the distances to those floors.
So if a tutorial gives you an AFK platform, use it. Don’t move it ten blocks higher just because it feels like standing higher should mean more mobs. It doesn’t work that way.
A Basic Hostile Mob Farm
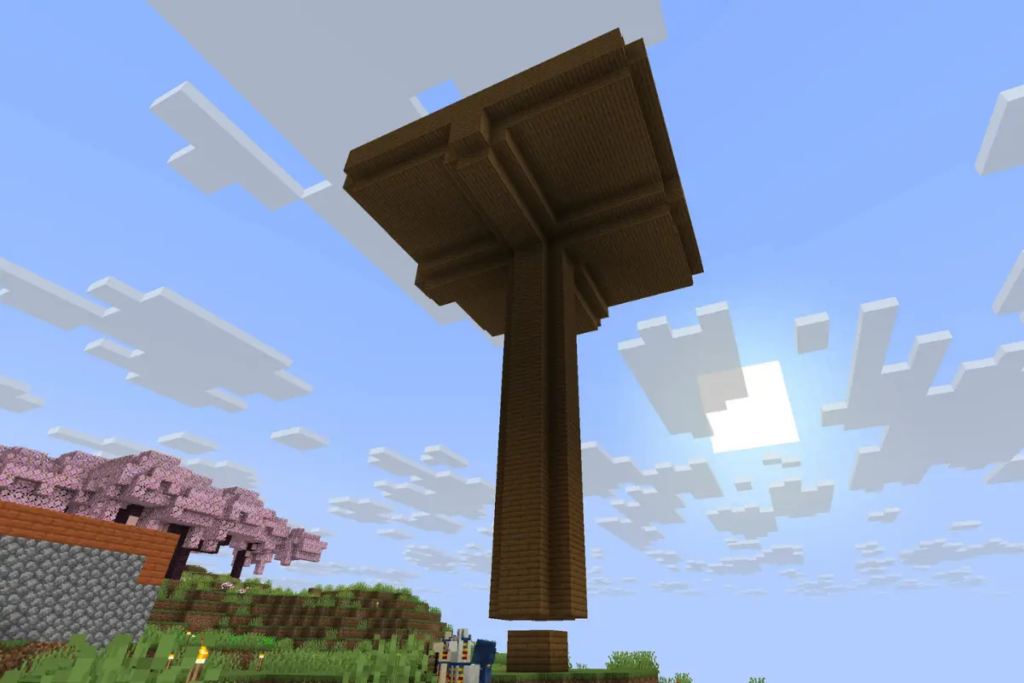
The normal hostile mob farm is still one of the most useful farms to have in a survival world. The setup is pretty simple. You have dark spawning platforms, something that pushes the mobs off those platforms, and a collection area below. Water is usually used to move the mobs around, and you don’t need some complicated redstone setup.
Once the mobs reach the bottom, you can let them die automatically or keep them alive for XP. A general farm can give you a mix of common drops such as bones, arrows, string, rotten flesh and gunpowder. For a normal survival world, that can be enough. But don’t expect huge amounts of one specific item, though.
XP Farms Are Set Up Differently
A farm can give you a lot of mob drops and still be terrible for XP. When the mobs die automatically, you’re not getting the normal player-kill XP from them. So XP farms usually leave the mobs alive with very little health. They get dropped into a chamber and their HP gets very low due to the fall damage. You stand at the killing spot and finish them yourself. That setup is useful once you’re using Mending on a weapon. Instead of running around looking for mobs whenever you need levels, you already have them in one place. An XP farm isn’t completely automatic. You still have to kill the mobs yourself. But that’s usually fine when XP is the whole reason you built it.
Creeper Farms
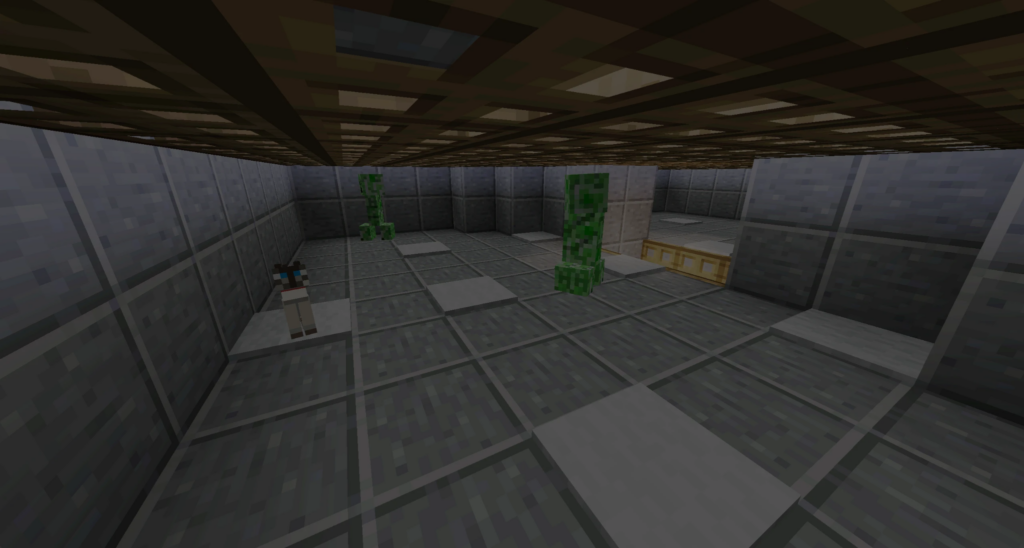
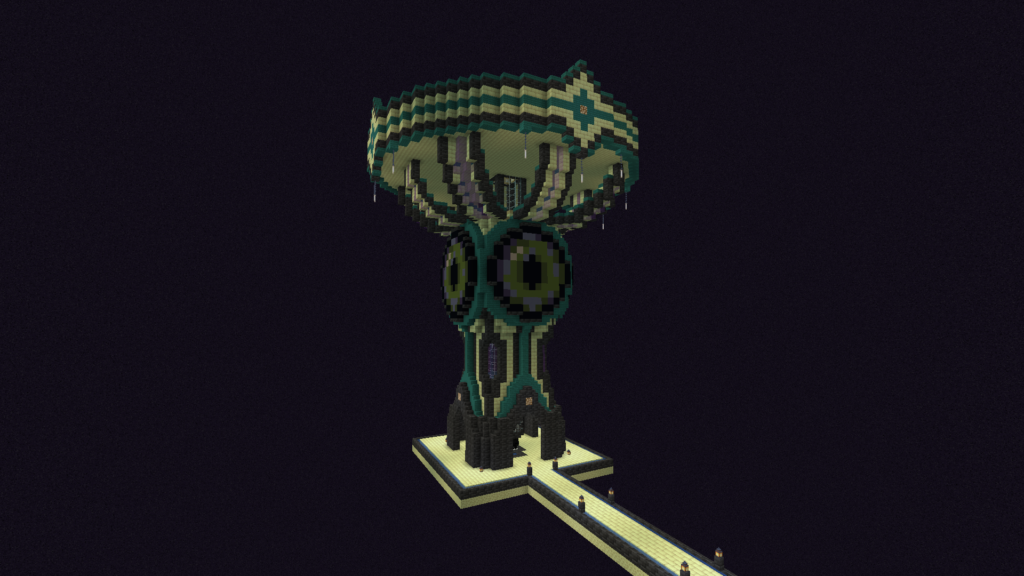
Once you get an Elytra, gunpowder starts to matter a lot more. Rockets are cheap to make, but you can use all of it very quickly when you’re flying around the world. A general mob farm will give you some gunpowder, but it won’t keep up forever if you’re using rockets constantly. Creeper farms are designed to get more creepers and fewer other hostile mobs. Different designs do this in different ways, but low ceilings and cats are common parts of the setup. Creepers are shorter than zombies and skeletons, which can be used to filter out taller mobs. Cats can also scare creepers toward the chest area.
You don’t need some giant creeper farm just because you saw one producing thousands of gunpowder per hour in a technical Minecraft video. For a normal survival world, a smaller farm can be enough.
Zombie, Skeleton and Spawner Farms
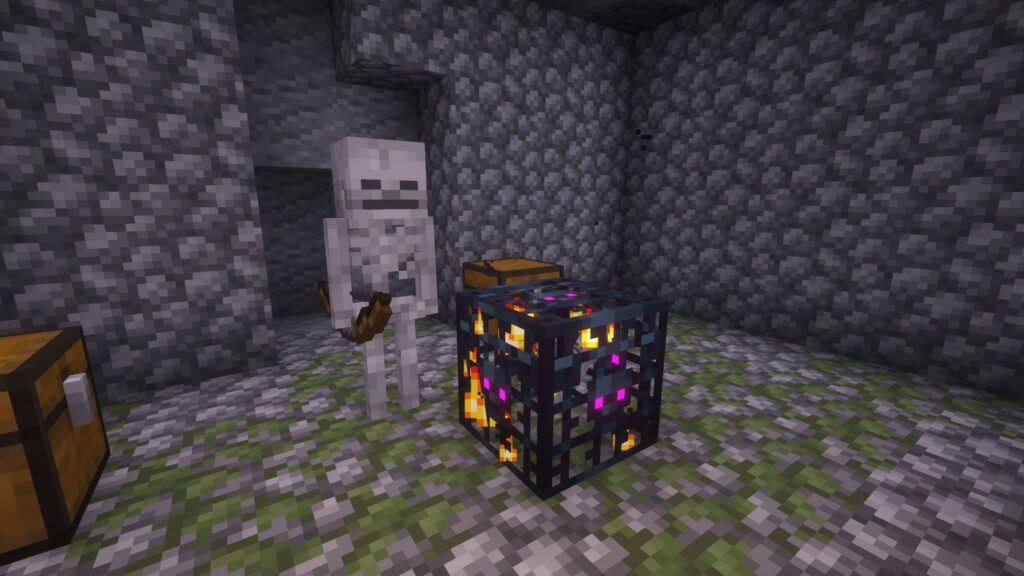
Zombie and skeleton farms can be worth setting up pretty early. You might already have a skeleton spawner somewhere underground and not even be using it. If you find one early in a survival world, don’t ignore it because you’re still busy getting diamonds or building your first proper base. A basic farm around the spawner can give you bones, arrows and XP without needing a huge structure. Bones become bone meal. That’s useful for crops, trees and anything else you want to grow quickly. Spawner farms are probably the easiest mob farms to understand. The spawner does the spawning. You just need to control where the mobs go. Usually that means you have to clear out the room around it by using water to move the mobs to one side, then build a killing area. The exact size of the room and the way the mobs are moved depends on the spawner and the farm design. A skeleton spawner can only gives skeletons. That’s it. You can’t turn it into a creeper farm because you need gunpowder.
Still, finding a spawner early can save you a lot of building. If you already have a good spawner nearby, use it. There’s not much point spending hours building a tower in the sky for the same basic drops.
Spider Farms
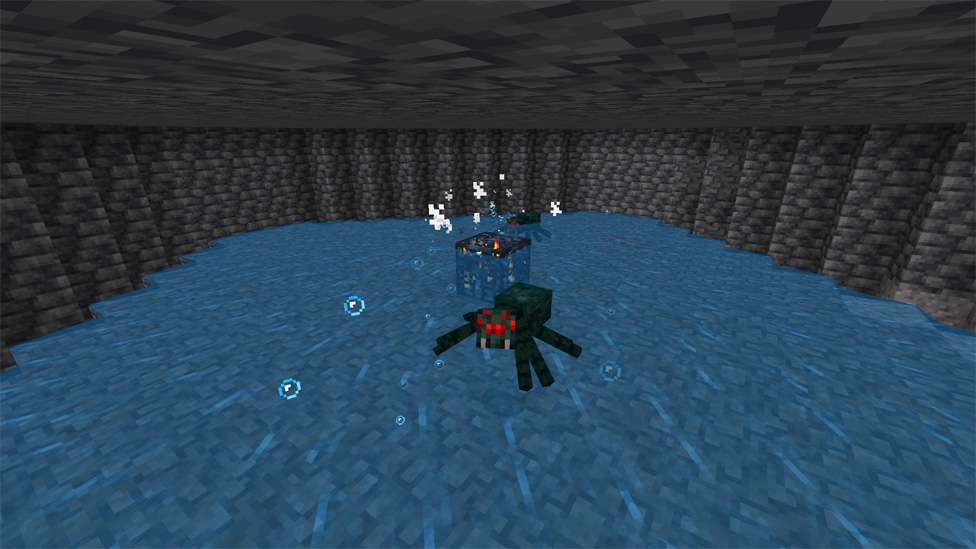
Spider farms are useful when you need string or a steady supply of spider eyes. A spider spawner is usually the easiest way to make one since the mobs are already coming from a fixed spot. The annoying part is that spiders can climb walls and sometimes get stuck in corners. You need to set up the room so they are pushed toward the killing area properly. It won’t be the biggest farm in your world, but it’s handy when you actually need the drops.
Enderman Farms
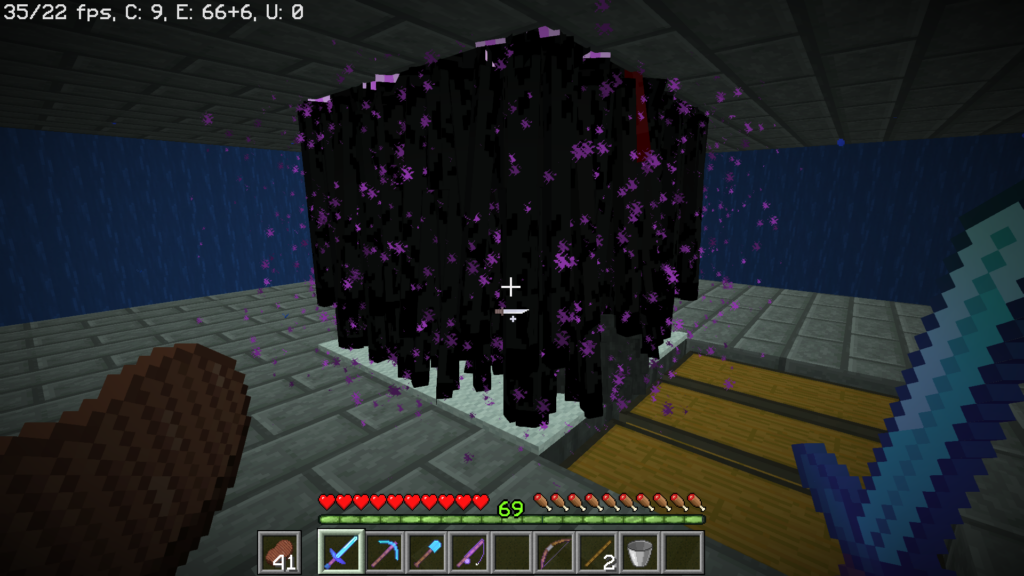
Enderman farms are mainly built for XP and ender pearls. By the time you’re making one, you’re already in the End, so this is definitely a later-game farm. You won’t need it during your first few nights. Endermen also don’t behave like zombies or skeletons. They teleport, and water makes them teleport away, so that means you can’t use the simple movement tricks used in normal mob farms. A proper Enderman farm gives them a spawning area and brings them toward one killing spot. The XP can be very good, especially once you have a lot of enchanted gear to repair. The ender pearls are useful too. Even after you’ve made all the Eyes of Ender, they’re still useful for travelling around the world.
Don’t Make the Farm Bigger First
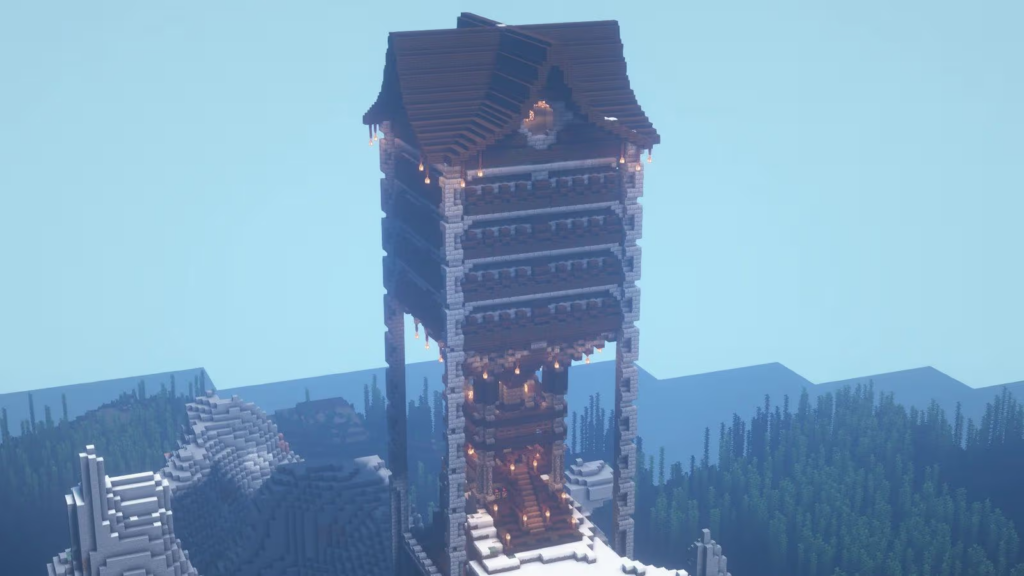
When a farm is slow, the first thought is usually to add more spawning floors. That can work. But it can also waste a lot of time. If mobs are already spawning in caves underneath the farm, then adding five more floors doesn’t fix your lower rates. You’re just adding more blocks to the same problem. If you’re over land, light up the caves around your AFK position. You don’t have to turn the entire underground world into a shopping mall full of torches. Just start with the caves closest to the farm.
Building the farm on an ocean location can save you a lot of this work. And don’t forget the killing system. If mobs are spawning quickly but clearing them takes forever, then the whole thing is going to slow down.
AFK Grinding Without Filling Your Storage
AFK doesn’t mean you can build the farm and forget about everything. Storage is an easy problem to miss. A farm can run for hours and fill every available chest. Once the storage is full, the items have nowhere to go. The mobs are still dying, but the drops have nowhere to go either and in the end the items start to despawn. So check the storage before leaving the farm. You also need somewhere safe to stand. Make sure the area around your AFK spot is safe before leaving the game. You don’t want a creeper wandering onto the platform while you’re away. Test the farm before leaving it. Stand there for a few minutes and watch what the mobs are doing. Make sure they actually reach the killing chamber. It’s much better to find a problem while you’re still standing there.
Which Mob Farm Should You Build?
If you find a skeleton or zombie spawner early, you should start there. It’s already in the world, and you don’t need to build a huge natural-spawn farm. For general resources, a hostile mob farm is probably enough. If you only need gunpowder, then build a creeper farm instead. Enderman farms make more sense later when you’re mainly looking for XP and ender pearls.
You don’t need all of them. Just build the one you’re actually going to use.
Mob Farms on a Minecraft Server
Multiplayer changes things a little. You can be AFK at a creeper farm while another player is thousands of blocks away exploring caves. Their loaded area can affect mob spawning, so your farm might not behave the same way it does in single-player. Server load can matter too. Several players running farms, villagers and other entities at the same time can put more work on the server. If you’re playing with friends, Cybrancee’s Minecraft server hosting lets the world stay online without relying on one person’s PC to host it.
Summary
Mob farms are useful, but you don’t need to build one just because there’s a farm for everything. You can start with whatever you actually need. A spawner might be enough. A general farm might be enough too. If you’re constantly using rockets, then a creeper farm makes more sense. And when a farm suddenly stops giving good rates, don’t rebuild it straight away. Check the AFK spot or look around the farm, and watch what the mobs are doing.